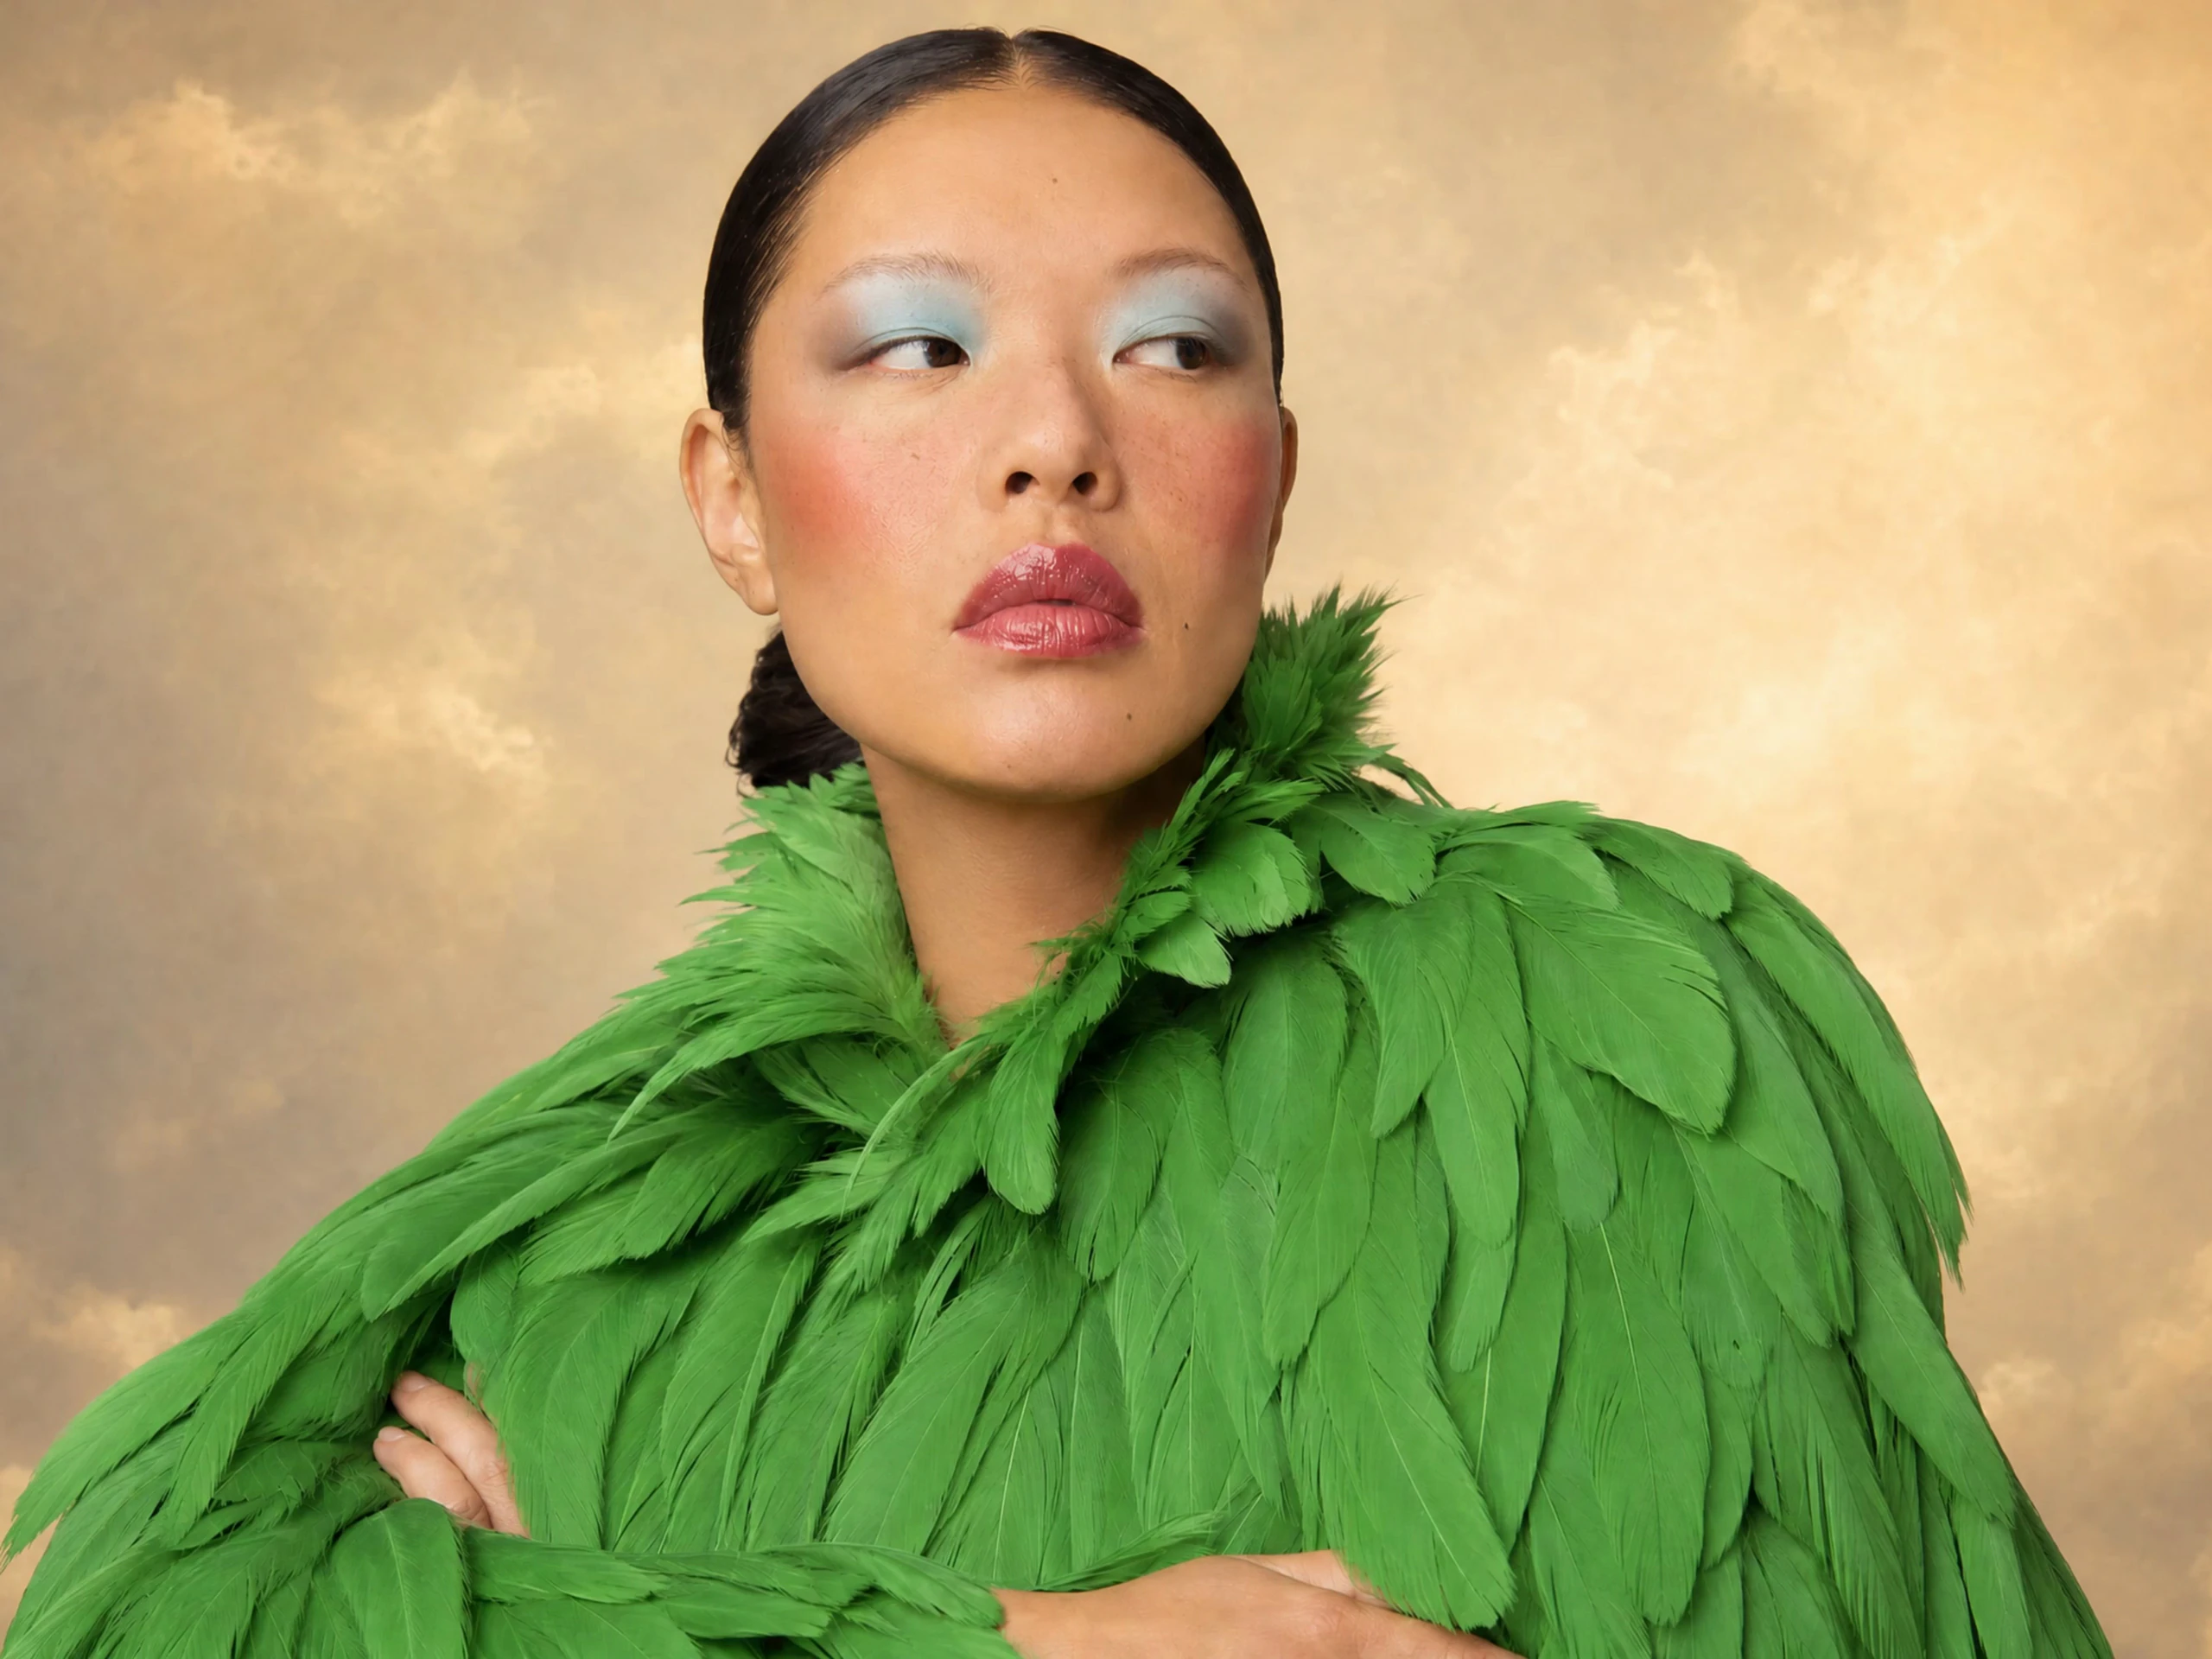
How Pika image-to-video works
You give Pika a still image and a short description of the motion you want. The image decides the look: subject, framing, colours and light. The prompt decides what happens: what moves, how the camera behaves and what must stay unchanged. The model then generates the frames that bring the picture to life.
In Pika this all happens in Video Studio, where you can “attach up to 50 characters, products, settings, and styles, and @mention them in the prompt.” A single attached photo is the simplest version. For a shorter, text-focused walkthrough, see how to animate a photo.
Where good starting images come from
The best image-to-video results start with a clean, well-lit image that has one clear subject. You can use your own photos, or create and prepare a starting frame inside Pika first.
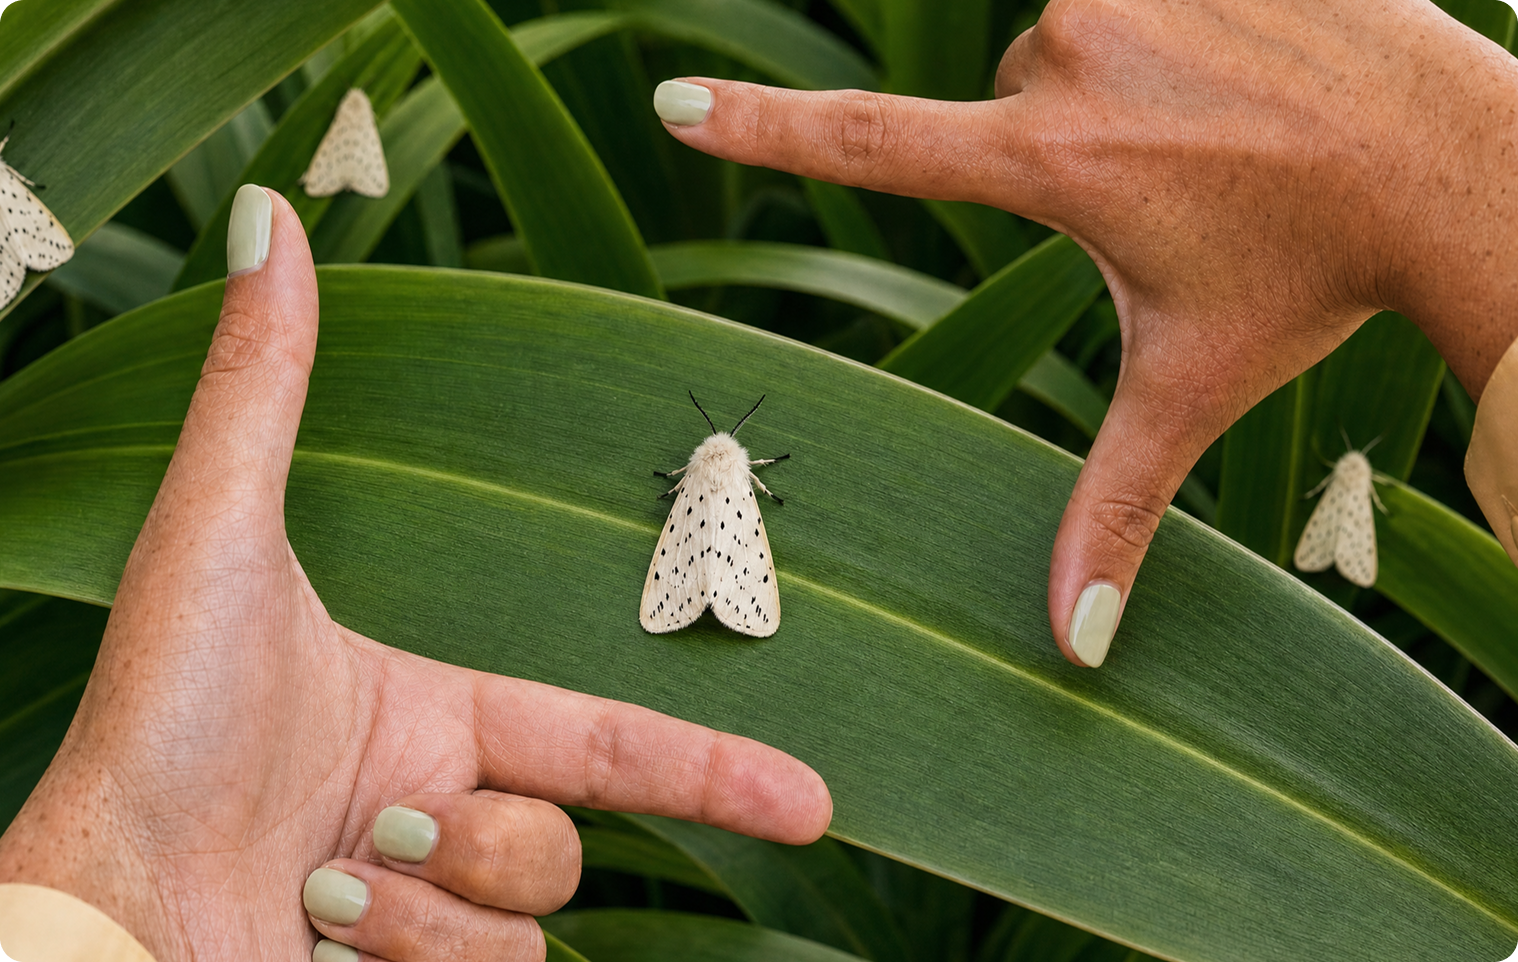
Generate a frame in Image Studio
No suitable photo? Create one with the exact framing and aspect ratio you need, then animate it. See Image Studio.
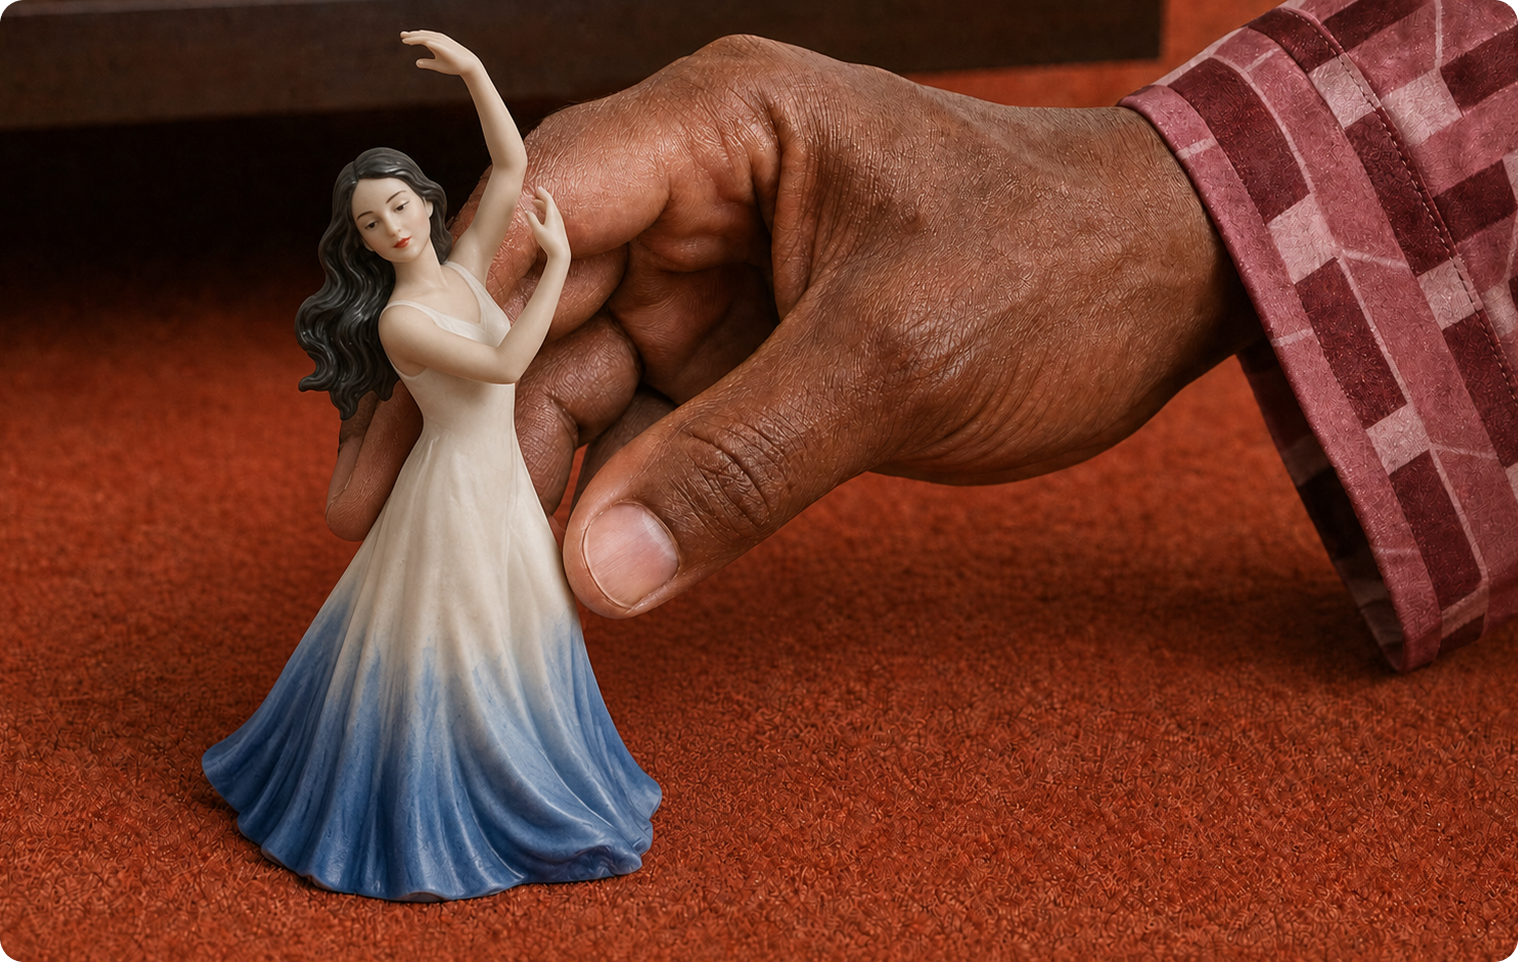
Build a character in Character Studio
For people or mascots that must look the same in every clip, create a reusable character. See Character Studio.
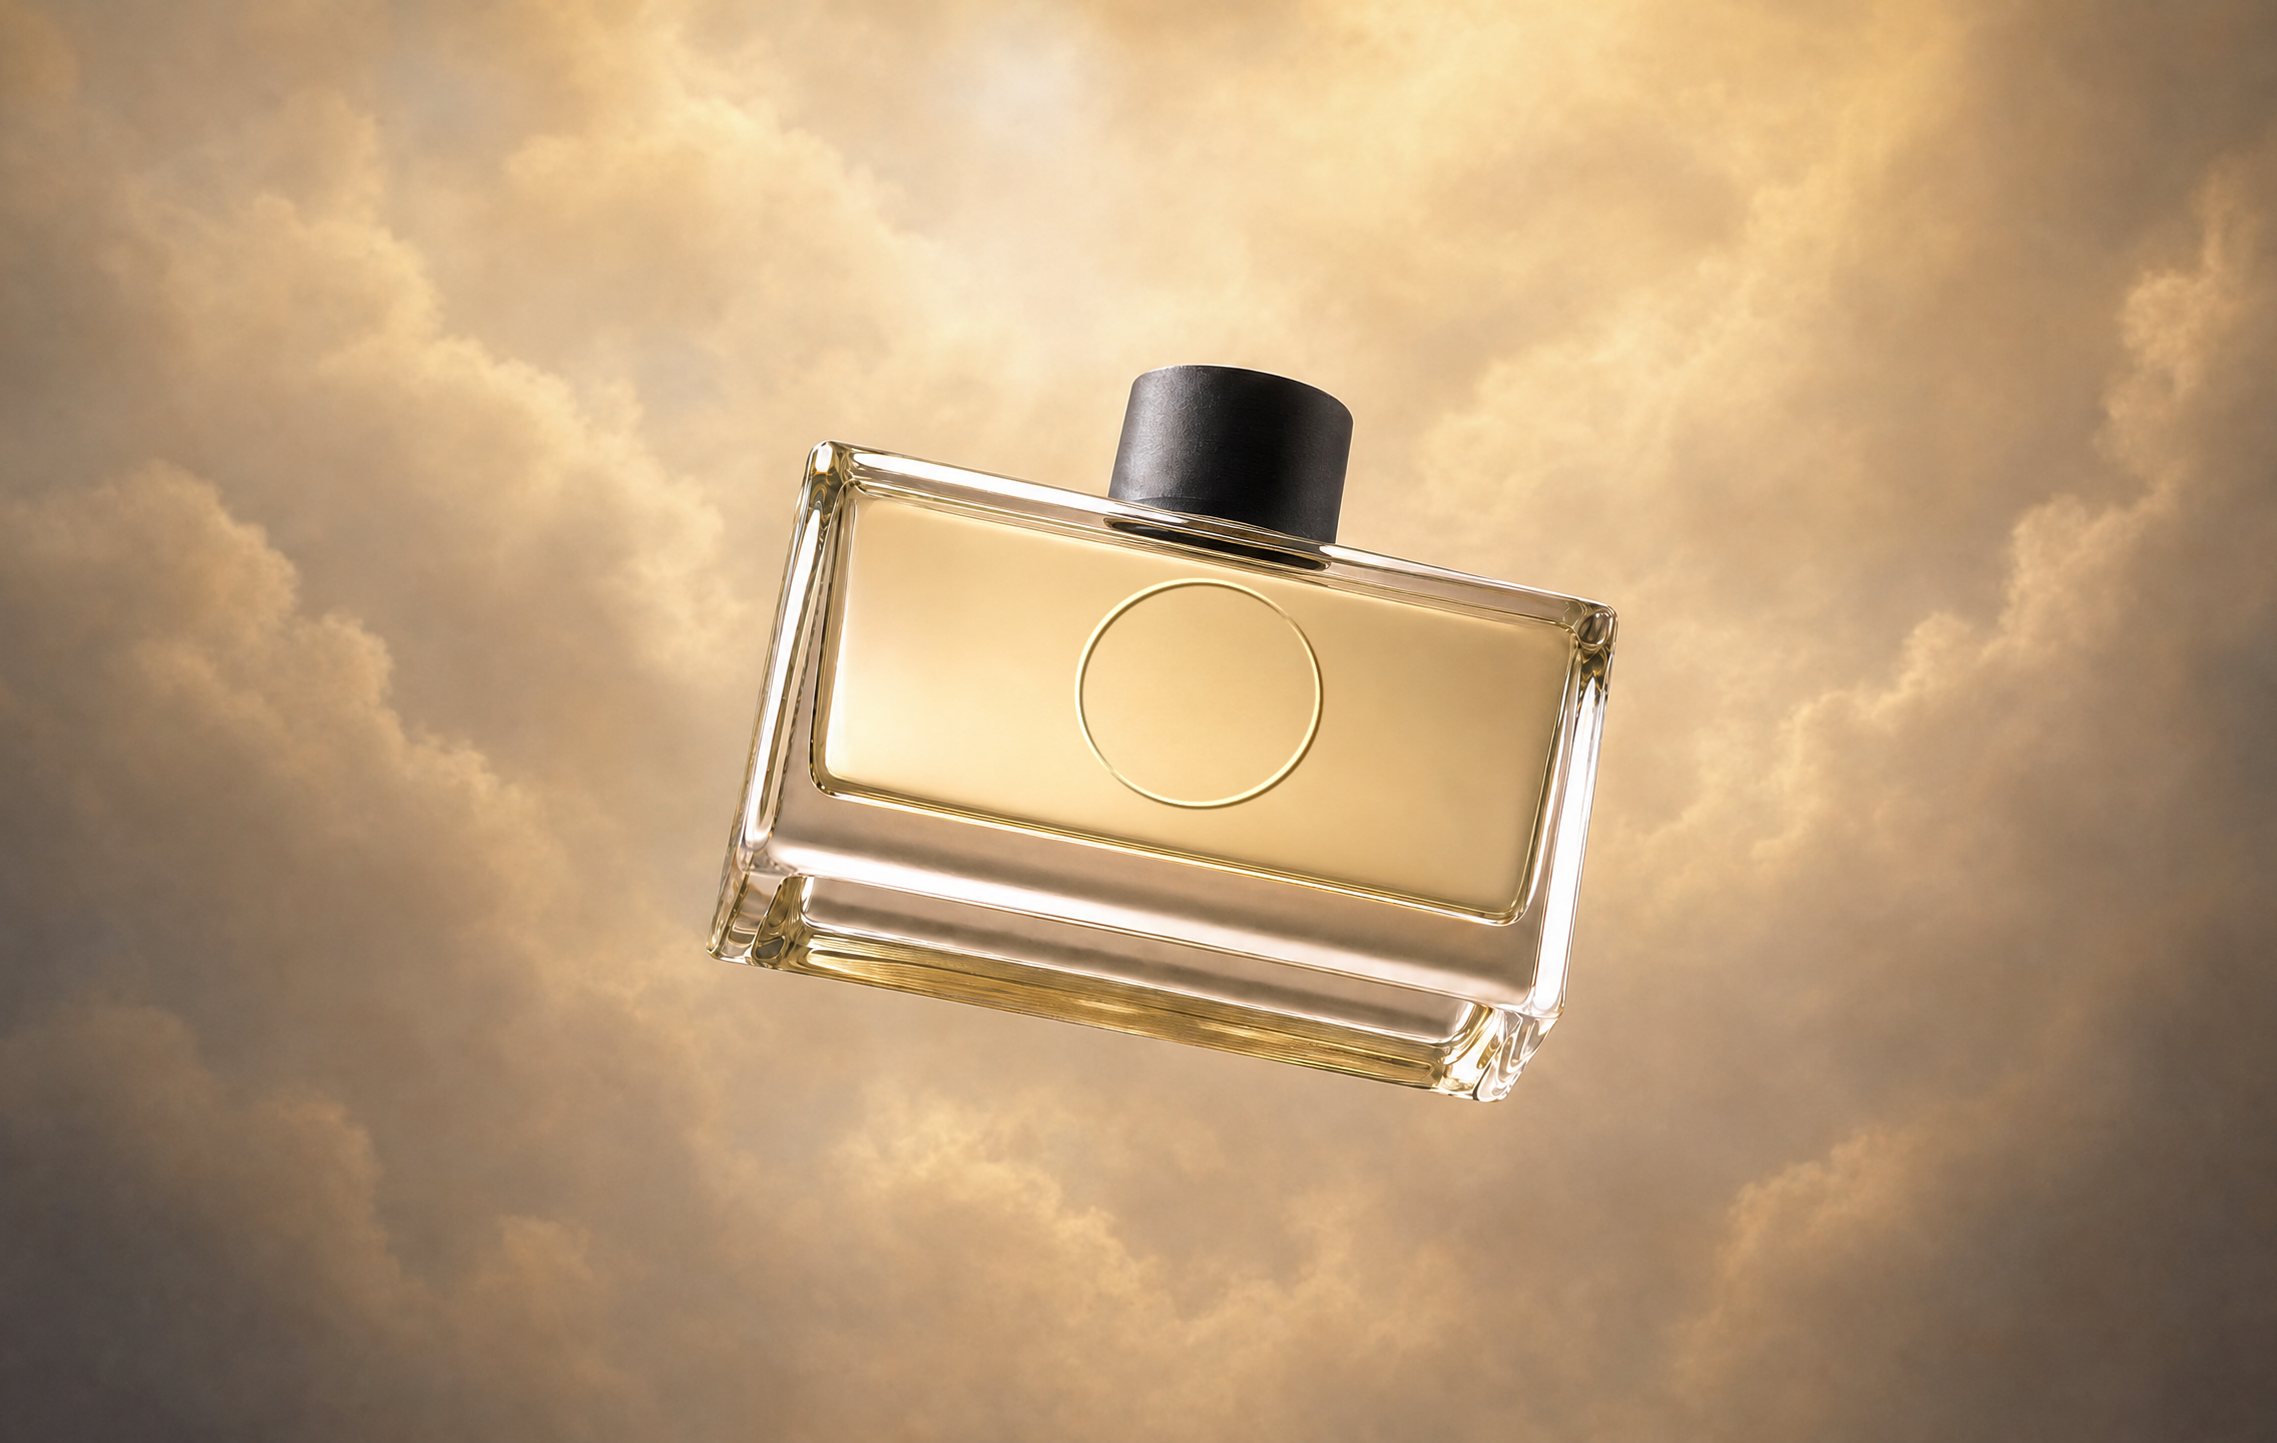
Stage a product in Product Shot
Place a product on a clean background before animating it for an ad. See Product Shot and product images.
Clean up your own photo
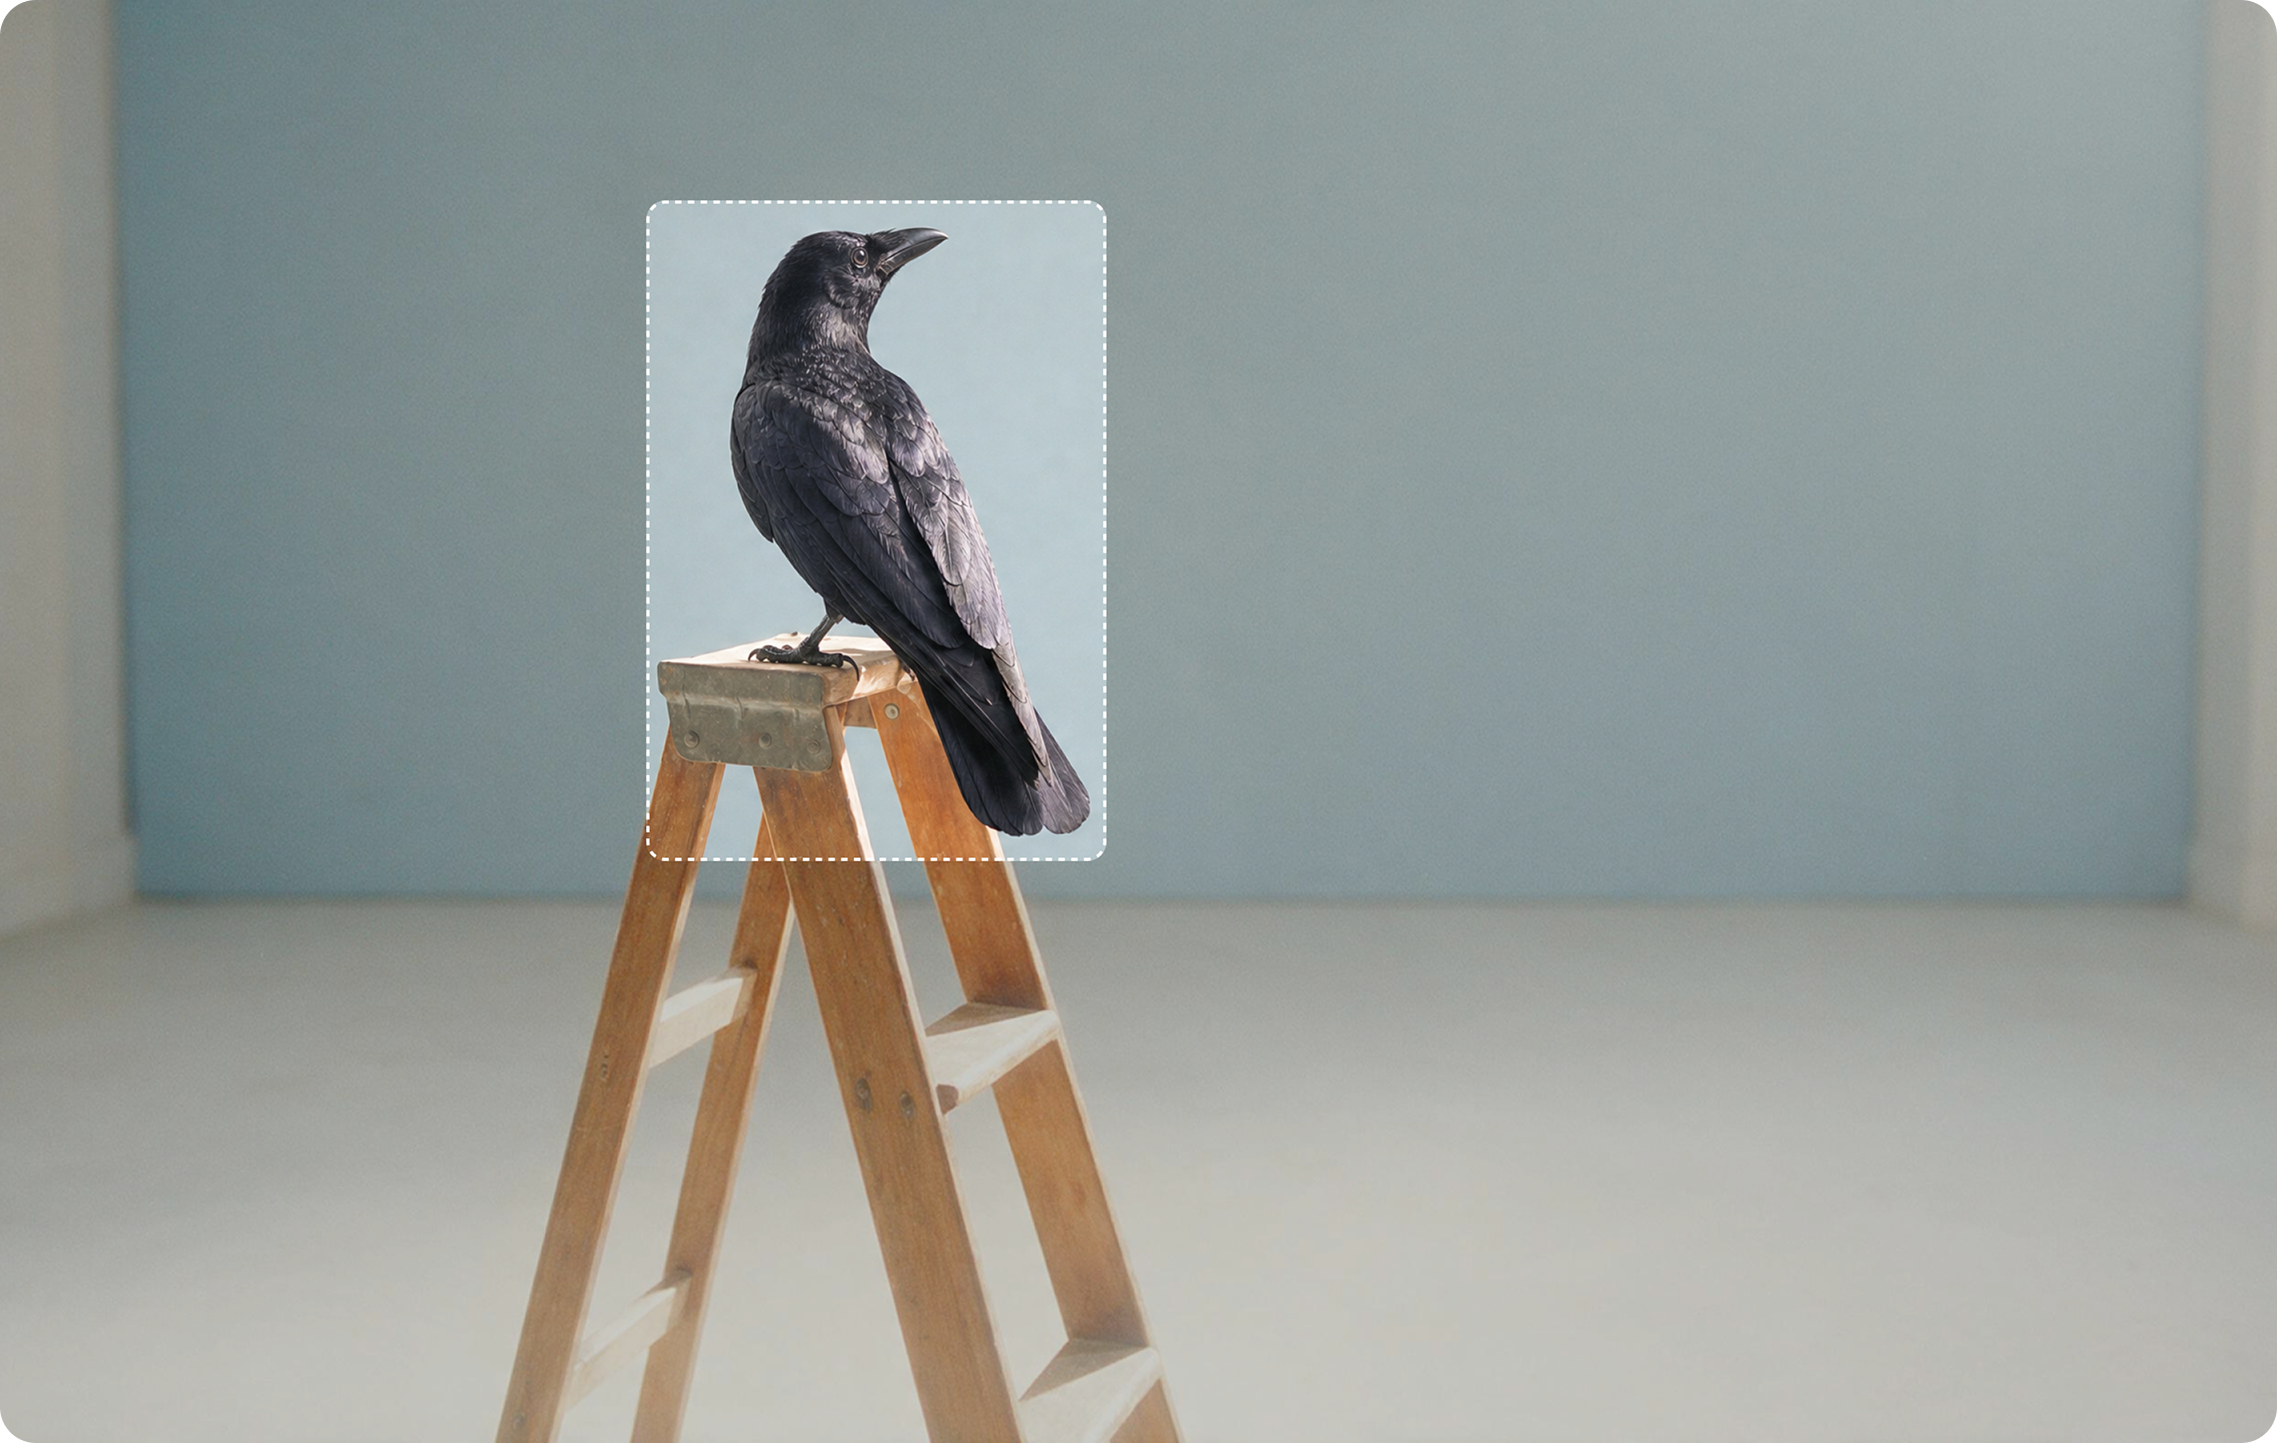
Remove text, fix the background or re-crop before animating, so the model has less to get wrong. See image editing.
Quick checklist for a starting image: one clear subject, space around it, sharp and evenly lit, no text or logos, cropped to the final aspect ratio, and an image you have the right to use.
Step-by-step: image to video in Pika
- Prepare the image using the checklist above.
- Open Video Studio and sign in through Pika’s login page.
- Attach the image as a reference and give it a short name, such as “portrait” or “bottle”.
- Choose a model, a short duration and the aspect ratio. Check the credit cost the app shows.
- Write the motion prompt using one of the formulas below, and @mention the reference.
- Generate and compare the clip with your image. Change one thing at a time until it holds together.
- Finish the keeper: extend, upscale, grade and add sound.
Image-to-video examples
Each example shows the kind of image to start from, the prompt used and what to check in the result. The prompts are our own; results vary between attempts and models.
Product photo: light sweep
Animate @product. It stays perfectly still while soft light sweeps slowly across its surface. Camera pushes in gently. Keep the shape, label and background unchanged. No text.
Check: edges and label stay sharp as the camera moves.
Character: small, natural motion
Animate @character. They blink, glance to the side and give a small smile, hair moving slightly. Camera static. Keep the face, outfit and lighting exactly as in the image.
Check: the face stays the same person from first frame to last.
City scene: slow camera move
Animate @city. Lights flicker on in windows, traffic moves along the streets, clouds drift. Slow aerial push-in. Keep the buildings and layout unchanged.
Check: buildings keep their shape and do not bend during the push-in.
Ad creative: scroll-stopping loop
Animate @ad. Gentle floating motion on the main subject, soft light shimmer, subtle background movement. Camera static. Keep colours and layout identical. No new text.
Check: the layout stays intact so you can add copy later.
Poster images: Pika. Example prompts and review notes are our own.
Prompt formulas for image-to-video
Because the image already shows what things look like, keep the prompt focused on motion. These formulas cover most photos:
| Goal | Formula |
|---|---|
| Bring a photo to life | Animate @image. [subtle subject motion]. [background motion]. Camera static. Keep everything else unchanged. |
| Add a camera move | Animate @image. [one camera move: slow push-in / pan / orbit]. Keep the subject and lighting unchanged. |
| Show an action | Animate @image. @subject [one clear action], slowly and naturally. [camera]. Keep the face/product unchanged. |
| New scene, same subject | @subject in [new setting], [light]. [action]. [camera]. Keep @subject exactly as in the reference. |
| Atmosphere only | Animate @image. Only the [sky / water / smoke / light] moves. Everything else stays still. |
For ready-made ideas, see 50 Pika prompts to test.
Choosing a model for your image
Video Studio lists Pika 2.5, Seedance 2.5, MiniMax H3, Wan 3.0 and Google Omni Flash. Each interprets reference images a little differently, so the fastest way to choose is to run the same image and prompt on two models and compare.
| Model | Listed cost | Good use in testing |
|---|---|---|
| Wan 3.0 | 33 credits · 720p, 5s | Cheap drafts to check the prompt and motion |
| Seedance 2.5 | 122 credits · 720p, 5s | Re-running a prompt that already works |
| Pika 2.5, MiniMax H3, Google Omni Flash | Shown in app | Comparing how each handles your specific image |
Source: Pika pricing, checked September 24, 2026. Model details: video models guide.
After the first clip: finishing tools
Extend Video
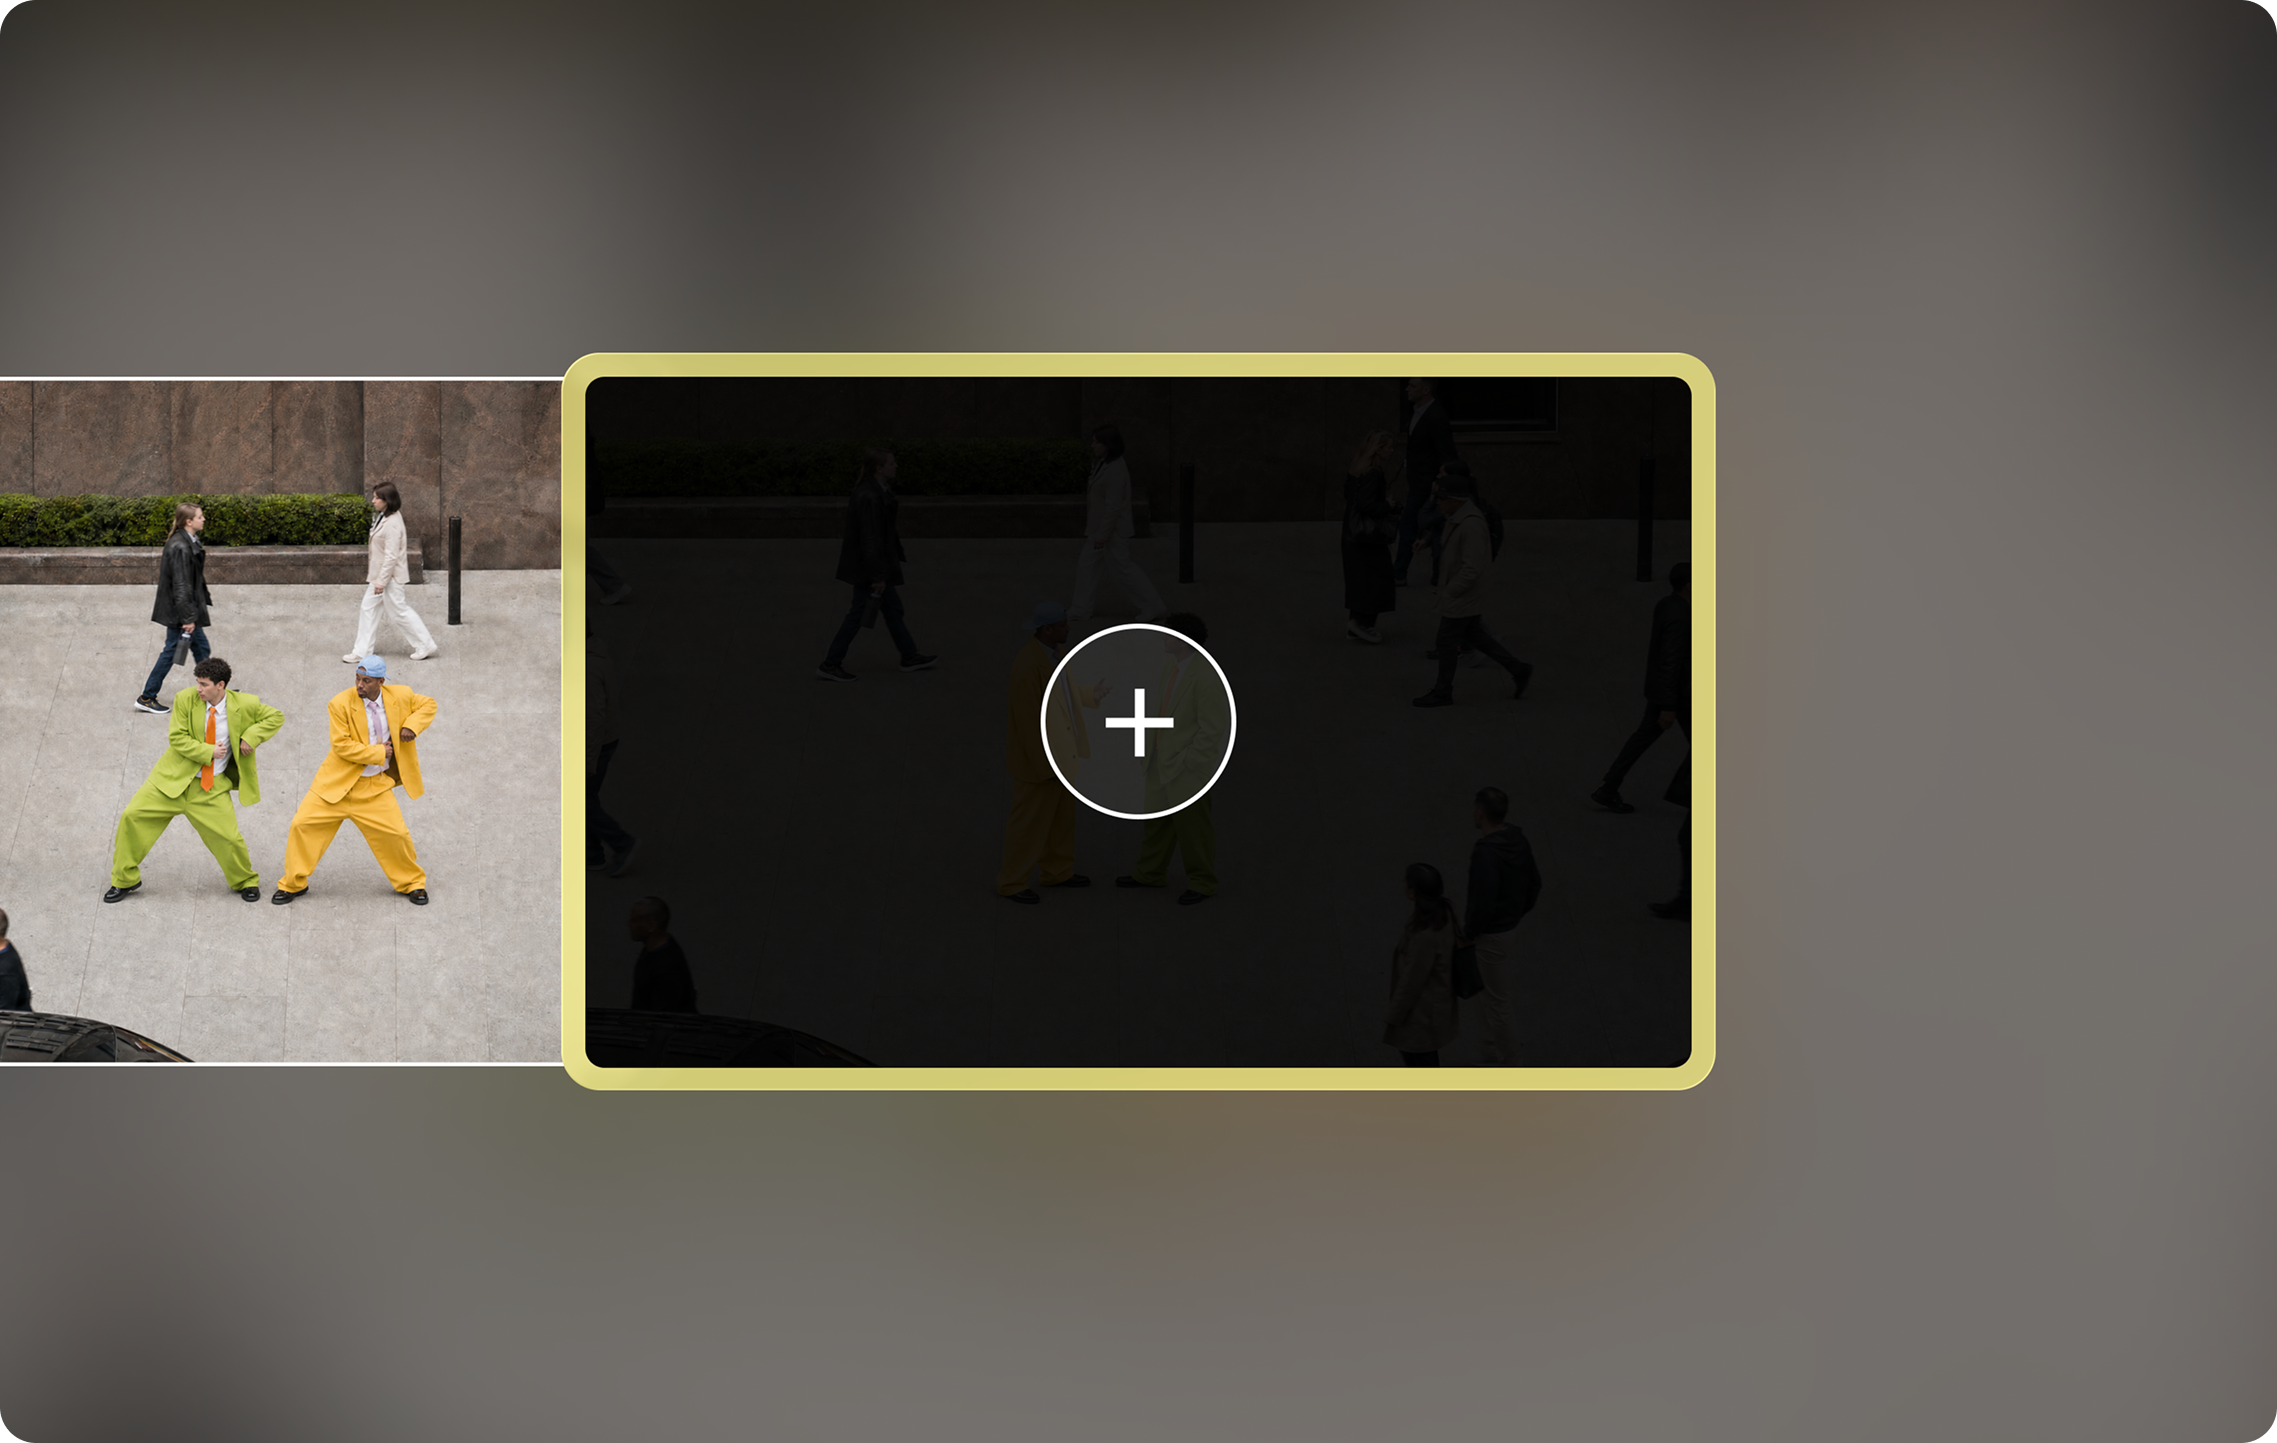
Continue a good clip past its last frame instead of regenerating a longer one. Read the guide.
Color Grade
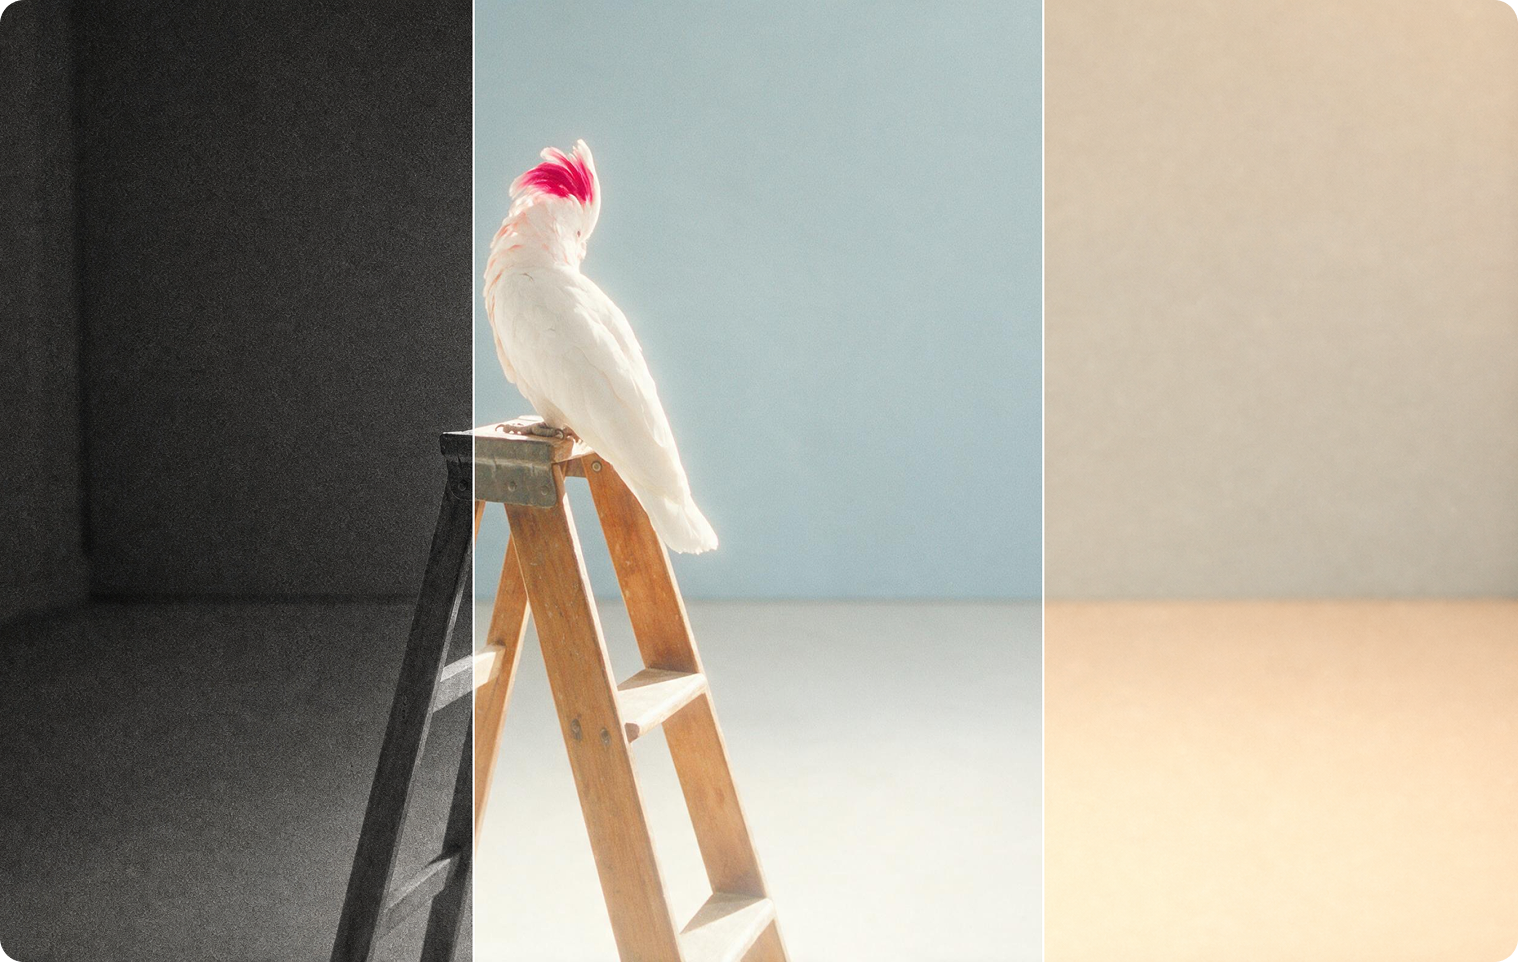
Match the look of several animated photos so they sit together in one edit. Read the guide.
Multi-shot in Video Studio
Reuse the same references across shots to build a longer piece. Read the guide.
Have a start and an end image? Use Pikaframes to create the transition between them.
Common problems and fixes
| Problem | Fix |
|---|---|
| The subject changes or warps | Slow the motion, shorten the clip and add “keep the face/product unchanged” |
| Almost nothing moves | Name one subject motion and one background motion explicitly |
| The clip drifts away from the photo | Start the prompt with “Animate @image” and add a constraints sentence |
| Text or logos become garbled | Remove them before uploading and add them back in an editor |
| Edges smear during camera moves | Re-crop with more space around the subject, or use “camera static” |
More help: troubleshooting guide.
Pika image-to-video FAQs
Can I turn any photo into a video with Pika?
Most photos work, but results are best with one clear subject, good light and space around it. Use images you own or have permission to use.
Is Pika image-to-video free?
Pika’s Free plan lists zero monthly credits, so you need a credit pack or a paid plan. See is Pika AI free?
How many images can I use in one video?
Video Studio accepts up to 50 references. For a transition from one image to another, Pikaframes takes two to five ordered images.
Can I animate a photo of a real person?
Only with their permission and within Pika’s terms. Do not animate people in ways that could mislead or harm them.
Is this the official Pika website?
No. pikaais.com is an independent informational guide. Generation, accounts and purchases take place on Pika’s official services.
Animate one image today
Pick a clean photo, use the “bring a photo to life” formula, and generate a short draft on a low-cost model before trying anything bigger.
Open Video Studio ↗Next: Pikaframes · Prompt library · All AI video guides
Sources: Pika, Pika Video Studio and Pika pricing, checked September 24, 2026. Images: Pika. Prompts, formulas and tips are our own.