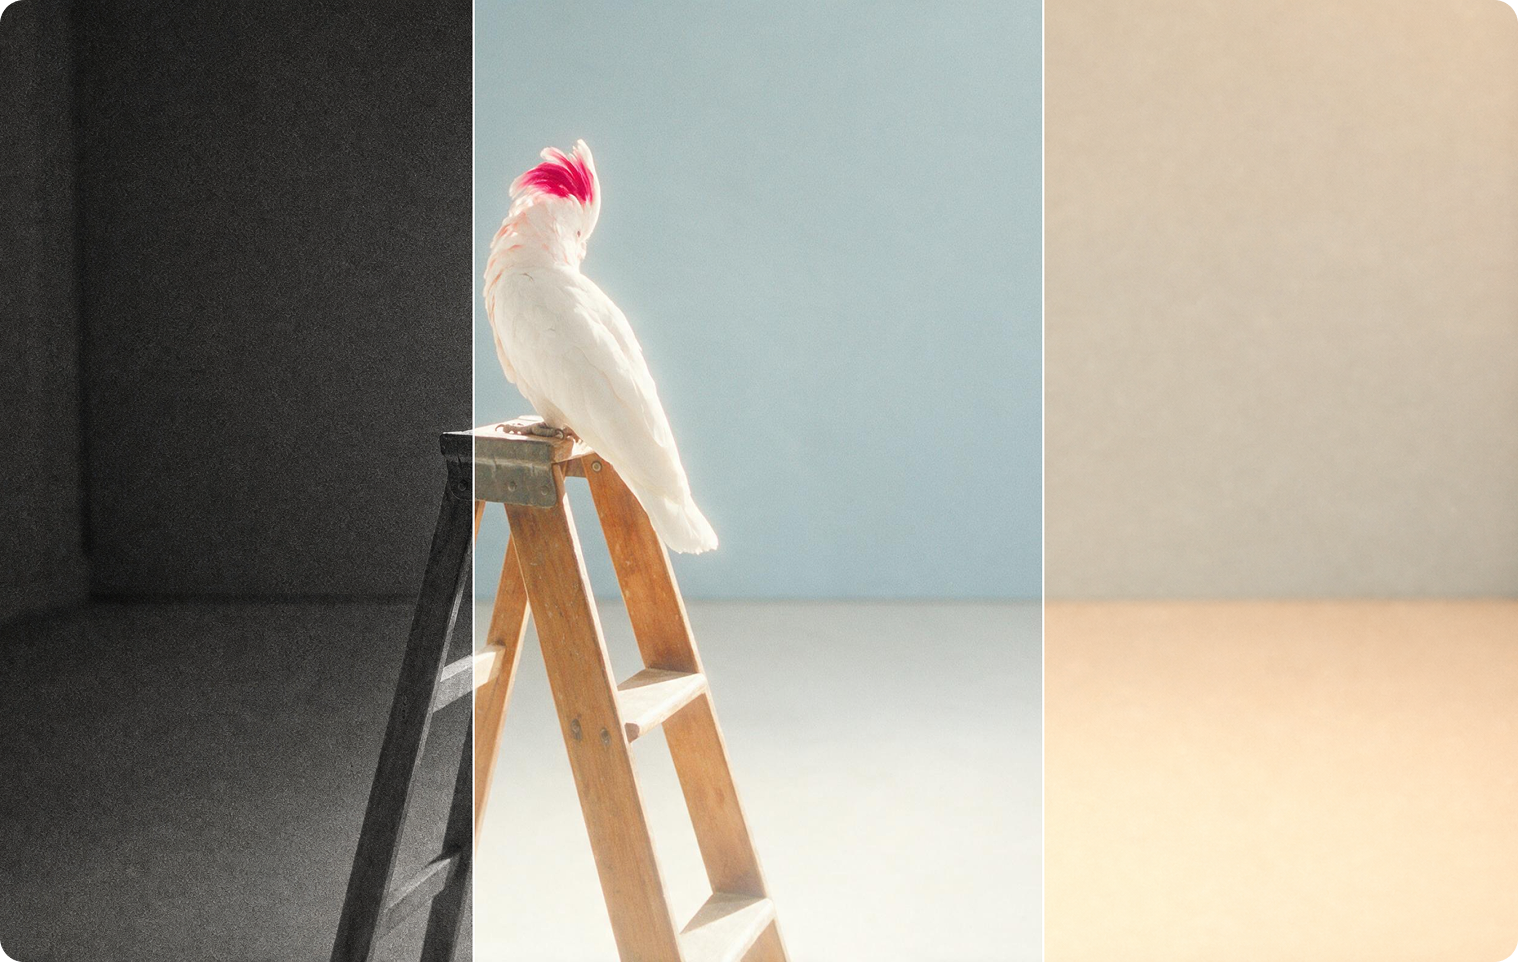
What Pika Color Grade does
Color Grade is one of Pika’s editing apps. Pika describes it in one line: “Adjust the color, contrast, and mood of any photo or clip.” You upload a video or image, choose how the grade should be set (from a reference image, a preset or manual controls), add any notes, and generate a regraded version.
Grading doesn’t change what happens in a shot; it changes how the shot feels. The same clip can read as warm and nostalgic, cold and tense, or bright and commercial depending on the grade. It’s also the simplest way to make clips from different models or sources look like they belong together.
The three ways to grade
Reference image
Upload a still whose colours you like; Pika says the reference’s colour “will drive the grade.”
Best for: matching a film still, brand photo or another clip.
Preset
Pick a ready-made look from the presets the app offers.
Best for: quick results and trying several moods fast.
Manual controls
Adjust the look yourself with the app’s controls, and add notes for anything specific.
Best for: fine-tuning a grade you already have in mind.
All three modes accept a notes field for extra instructions, such as “keep skin tones natural” or “don’t change the product colour.” The exact presets and controls are shown in the app and may change as Pika updates it.
Colour basics in plain language
You don’t need colourist training to grade well. These five terms cover most decisions, whether you use manual controls or describe the look in notes.
| Term | What it means | Effect on mood |
|---|---|---|
| Temperature | Warm (orange) versus cool (blue) | Warm feels cosy or nostalgic; cool feels calm, clinical or tense |
| Tint | Green versus magenta balance | Small shifts fix odd skin tones or add a stylised cast |
| Contrast | Gap between darks and lights | High feels dramatic and punchy; low feels soft and dreamy |
| Saturation | Strength of colour | High feels energetic; low feels serious, muted or vintage |
| Exposure / brightness | Overall lightness | Brighter feels open and upbeat; darker feels moody |
Mood recipes
Use these as starting points in the notes field or as a guide for manual adjustments. They are our own recipes, written in plain language.
| Look | Adjustments | Notes to try |
|---|---|---|
| Warm golden hour | Warmer, slightly lower contrast, soft highlights | “Warm late-afternoon glow, soft highlights, natural skin tones” |
| Cool thriller | Cooler, higher contrast, lower saturation | “Cold blue-green tones, deep shadows, muted colour” |
| Teal and orange | Cool shadows, warm skin and highlights | “Teal shadows, warm skin tones, cinematic contrast” |
| Vintage film | Faded blacks, lower saturation, warm cast | “Faded 1970s film look, lifted blacks, soft warm colour” |
| Clean commercial | Neutral white balance, bright, moderate contrast | “Clean, bright, true-to-life colour, crisp whites” |
| Moody night | Darker, cool, strong contrast, selective colour | “Dark and moody, cool blues, keep neon lights vivid” |
| Black and white | No saturation, strong contrast | “High-contrast black and white, rich blacks” |
Protect what matters. For product and brand work, add “keep the product colour exactly the same” or “keep skin tones natural” so the mood changes without changing the thing you’re selling or the people on screen.
How to color grade a clip, step by step
- Finish the edit first. Grade after you’ve extended and trimmed, so the whole clip gets one consistent look.
- Open Color Grade. Sign in at create.pika.art and open Color Grade.
- Upload the clip or photo.
- Choose a mode: a reference image to match an existing look, a preset to explore quickly, or manual controls to fine-tune.
- Add notes from the mood recipes, plus anything that must stay unchanged.
- Check the credit cost shown in the app, then generate.
- Compare before and after on the darkest and brightest moments, and on any faces or products.
- Save the recipe (mode, preset or reference, notes) so you can apply the same look to the next clip.
Pika’s app page doesn’t list a price or size limits for Color Grade; check the figure the app shows. For plans and credit packs, see Pika pricing.
Matching a series of clips
Clips made on different models, or from a mix of generated and real footage, rarely match out of the box. Grading them to one look is what makes a set feel like a single project.
- Pick a hero frame. Choose the clip that looks best and export a still from it.
- Use it as the reference image for every other clip in the series.
- Keep the same notes for each clip, word for word.
- Review the clips side by side in the order they’ll be seen, and regrade any outliers.
This works well for short films, multi-clip product ads and travel videos, where shots from different prompts need to sit together.
Color grade examples
Each example lists the mode, the notes and what to check. The projects are our own ideas.
Daylight to golden hour
Check: skin stays natural while the scene warms up.
City scene to moody night
Check: shadows stay detailed rather than crushed to black.
Product ad to brand look
Check: the product colour matches the real item.
Vintage film look
Check: the fade looks intentional, not washed out.
Poster images: Pika. Example projects and notes are our own.
Common problems and fixes
| Problem | Fix |
|---|---|
| Skin looks orange, green or grey | Add “keep skin tones natural”; reduce the temperature or tint change |
| Product or brand colour changed | Add “keep the product colour exactly the same” |
| Shadows turned solid black | Lower the contrast or ask for “detailed shadows” |
| Look is too strong | Ask for a “subtle” version, or pick a gentler preset |
| Reference grade doesn’t match | Use a reference with similar lighting to your clip (day for day, night for night) |
| Clips in a series still differ | Use the same reference and identical notes for every clip |
If the problem is sharpness rather than colour, see improve video quality; if it’s lighting direction, try Relight Media.
Color Grade FAQs
Can Color Grade work on photos as well as video?
Yes. Pika describes it as adjusting “the color, contrast, and mood of any photo or clip.”
Can I match the look of a film or another clip?
Use the reference-image mode with a still that has the colours you want. Use images you have the right to use, and a reference with similar lighting to your clip.
Should I grade before or after extending and upscaling?
Grade after extending and trimming, so the whole clip is graded as one. Upscaling can come before or after; check the final result either way.
Can I grade clips that weren’t made with Pika?
Yes, you can upload your own footage, provided you have the rights to it.
How much does Color Grade cost?
Pika’s app page doesn’t list a fixed price; the app shows the cost before you generate. See Pika pricing.
Is this the official Pika website?
No. pikaais.com is an independent informational guide. Generation, accounts and purchases take place on Pika’s official services.
Grade one clip two ways
Take a finished clip, try a preset and one mood recipe, and compare them side by side to see how much the mood changes.
Open Color Grade ↗Next: Extend Video · Improve quality · All AI video guides
Sources: Pika Color Grade app page and Pika, checked September 24, 2026. Images: Pika. Mood recipes, workflow advice and troubleshooting are our own.