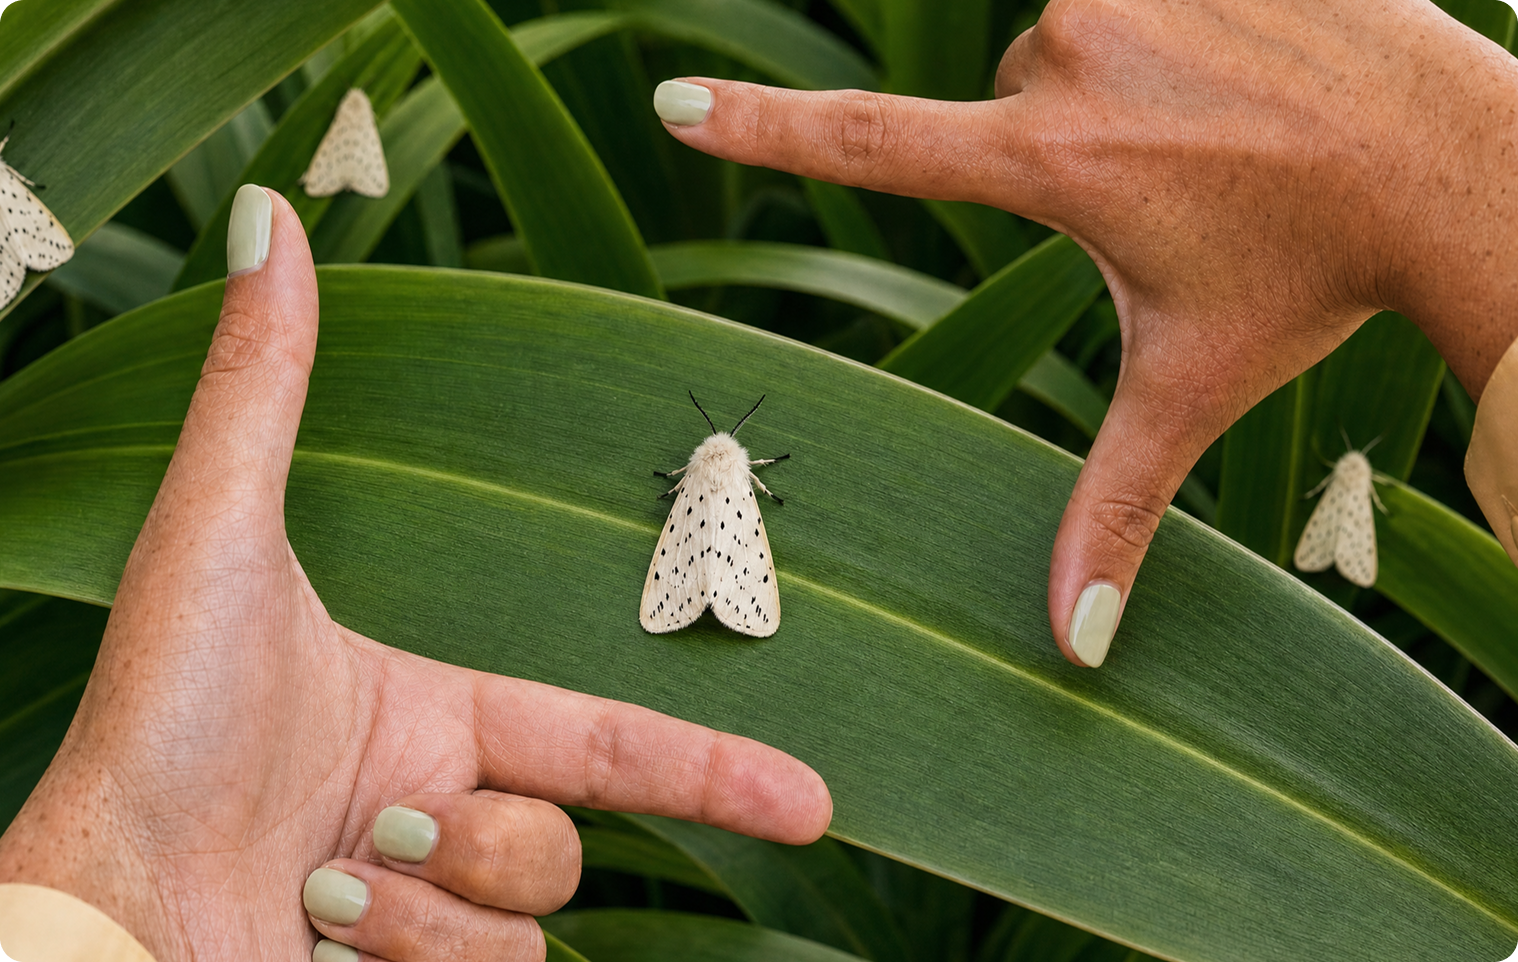
What is Pika Image Studio?
Pika describes Image Studio as a way to “generate professional level imagery with maximum creative control.” You write a prompt, optionally attach reference images, pick a model and aspect ratio, and generate. References can be @mentioned in the prompt so you can say exactly how each one should be used.
Other Pika image apps cover specific jobs: Edit Image for changing an existing photo, Character Studio for reusable characters and Product Shot for product photos. See them all in the AI image hub.
The controls in Image Studio
Layouts change as Pika updates the app, but these are the controls to look for.
| Control | What it does | Beginner setting |
|---|---|---|
| Prompt | Describes the image you want | Two to four plain sentences |
| References | Images that guide a face, product, place or style; @mention them | None for the first image |
| Model | Which image model generates the result | The default or recommended option |
| Aspect ratio | Shape of the image; Auto lets the model choose | The shape of where you’ll use it |
| Resolution & format | Output size and file type (such as PNG) | Default for drafts |
| Cost display | Credits the current settings will spend | Check before each generation |
Model options in Image Studio include versions of Google’s Nano Banana. Its Pika page lists a Lite tier at 1K, Nano Banana 2 from 0.5K to 4K, and a Pro tier from 1K to 4K, with PNG, JPEG or WebP output and one image per generation. The exact list shown in Image Studio may change; compare all image models in the image models guide.
Create your first image, step by step
- Open Image Studio. Go to create.pika.art/apps/create-image and sign in through Pika’s login page.
- Leave references empty for this first test.
- Choose the model and aspect ratio. Keep the default model; pick square or landscape for this example.
- Paste the starter prompt below.
- Check the credit cost shown, then generate.
- Review the image at full size: edges, hands, text, and anything that doesn’t match the prompt.
- Change one thing and generate again, such as the light or the style, to see how the model responds.
- Download the version you like, or refine it in Edit Image.
Starter prompt: A small ceramic teapot with a pale green glaze on a wooden table beside a window. Soft morning light from the left, gentle shadows. Shallow depth of field, calm and minimal, photographic style.
This practice prompt is our own. Pika’s image model pages don’t list per-image prices; the app shows the cost before you generate. See Pika pricing and is Pika AI free?
Writing an image prompt
A still image has no motion or camera move, so the prompt focuses on what’s in the frame and how it looks. Use these six parts, in this order:
- Be concrete: “pale green glaze” beats “nice colour.”
- Name the light: direction and time of day set the mood more than adjectives.
- Put exact text in quotation marks, and keep it short.
- Pick one style: “watercolour” or “photographic,” not both.
More prompt ideas: AI image prompts.
Using reference images
References let you show the model what you mean instead of describing it. Attach them, then @mention each one in the prompt to say what it’s for.
Example: @mug on a marble kitchen counter in the style of @painting, morning light from the right. Keep @mug’s shape, colour and logo exactly as in the reference.
| Reference | Use it to | Tip |
|---|---|---|
| Person or character | Keep a face or outfit consistent | Clear, front-facing photo; use one you have permission to use |
| Product | Keep shape, colour and label accurate | Plain background, label facing camera |
| Location | Place the scene somewhere specific | Wide, well-lit shot of the setting |
| Style | Borrow colours, texture or technique | Use an image you have rights to |
How many references you can attach depends on the model: for example, Nano Banana’s page lists up to 14 on Lite, 10 on Nano Banana 2 and 6 on Pro. For a reusable person, build them first in Character Studio.
Choosing an aspect ratio
| Use | Shape |
|---|---|
| Feed posts, profile images, product tiles | 1:1 square or 4:5 |
| Stories, Reels and Shorts covers, phone wallpapers | 9:16 vertical |
| Website heroes, slides, YouTube thumbnails | 16:9 landscape |
| Print, posters, portraits | 2:3, 3:4 or 4:3 |
| Banners and cinematic stills | 21:9 ultra-wide (where the model offers it) |
Choosing the shape before generating is better than cropping afterwards, which can cut off important parts. If you plan to animate the image later, match the video’s shape; see image-to-video.
Refining a result without starting over
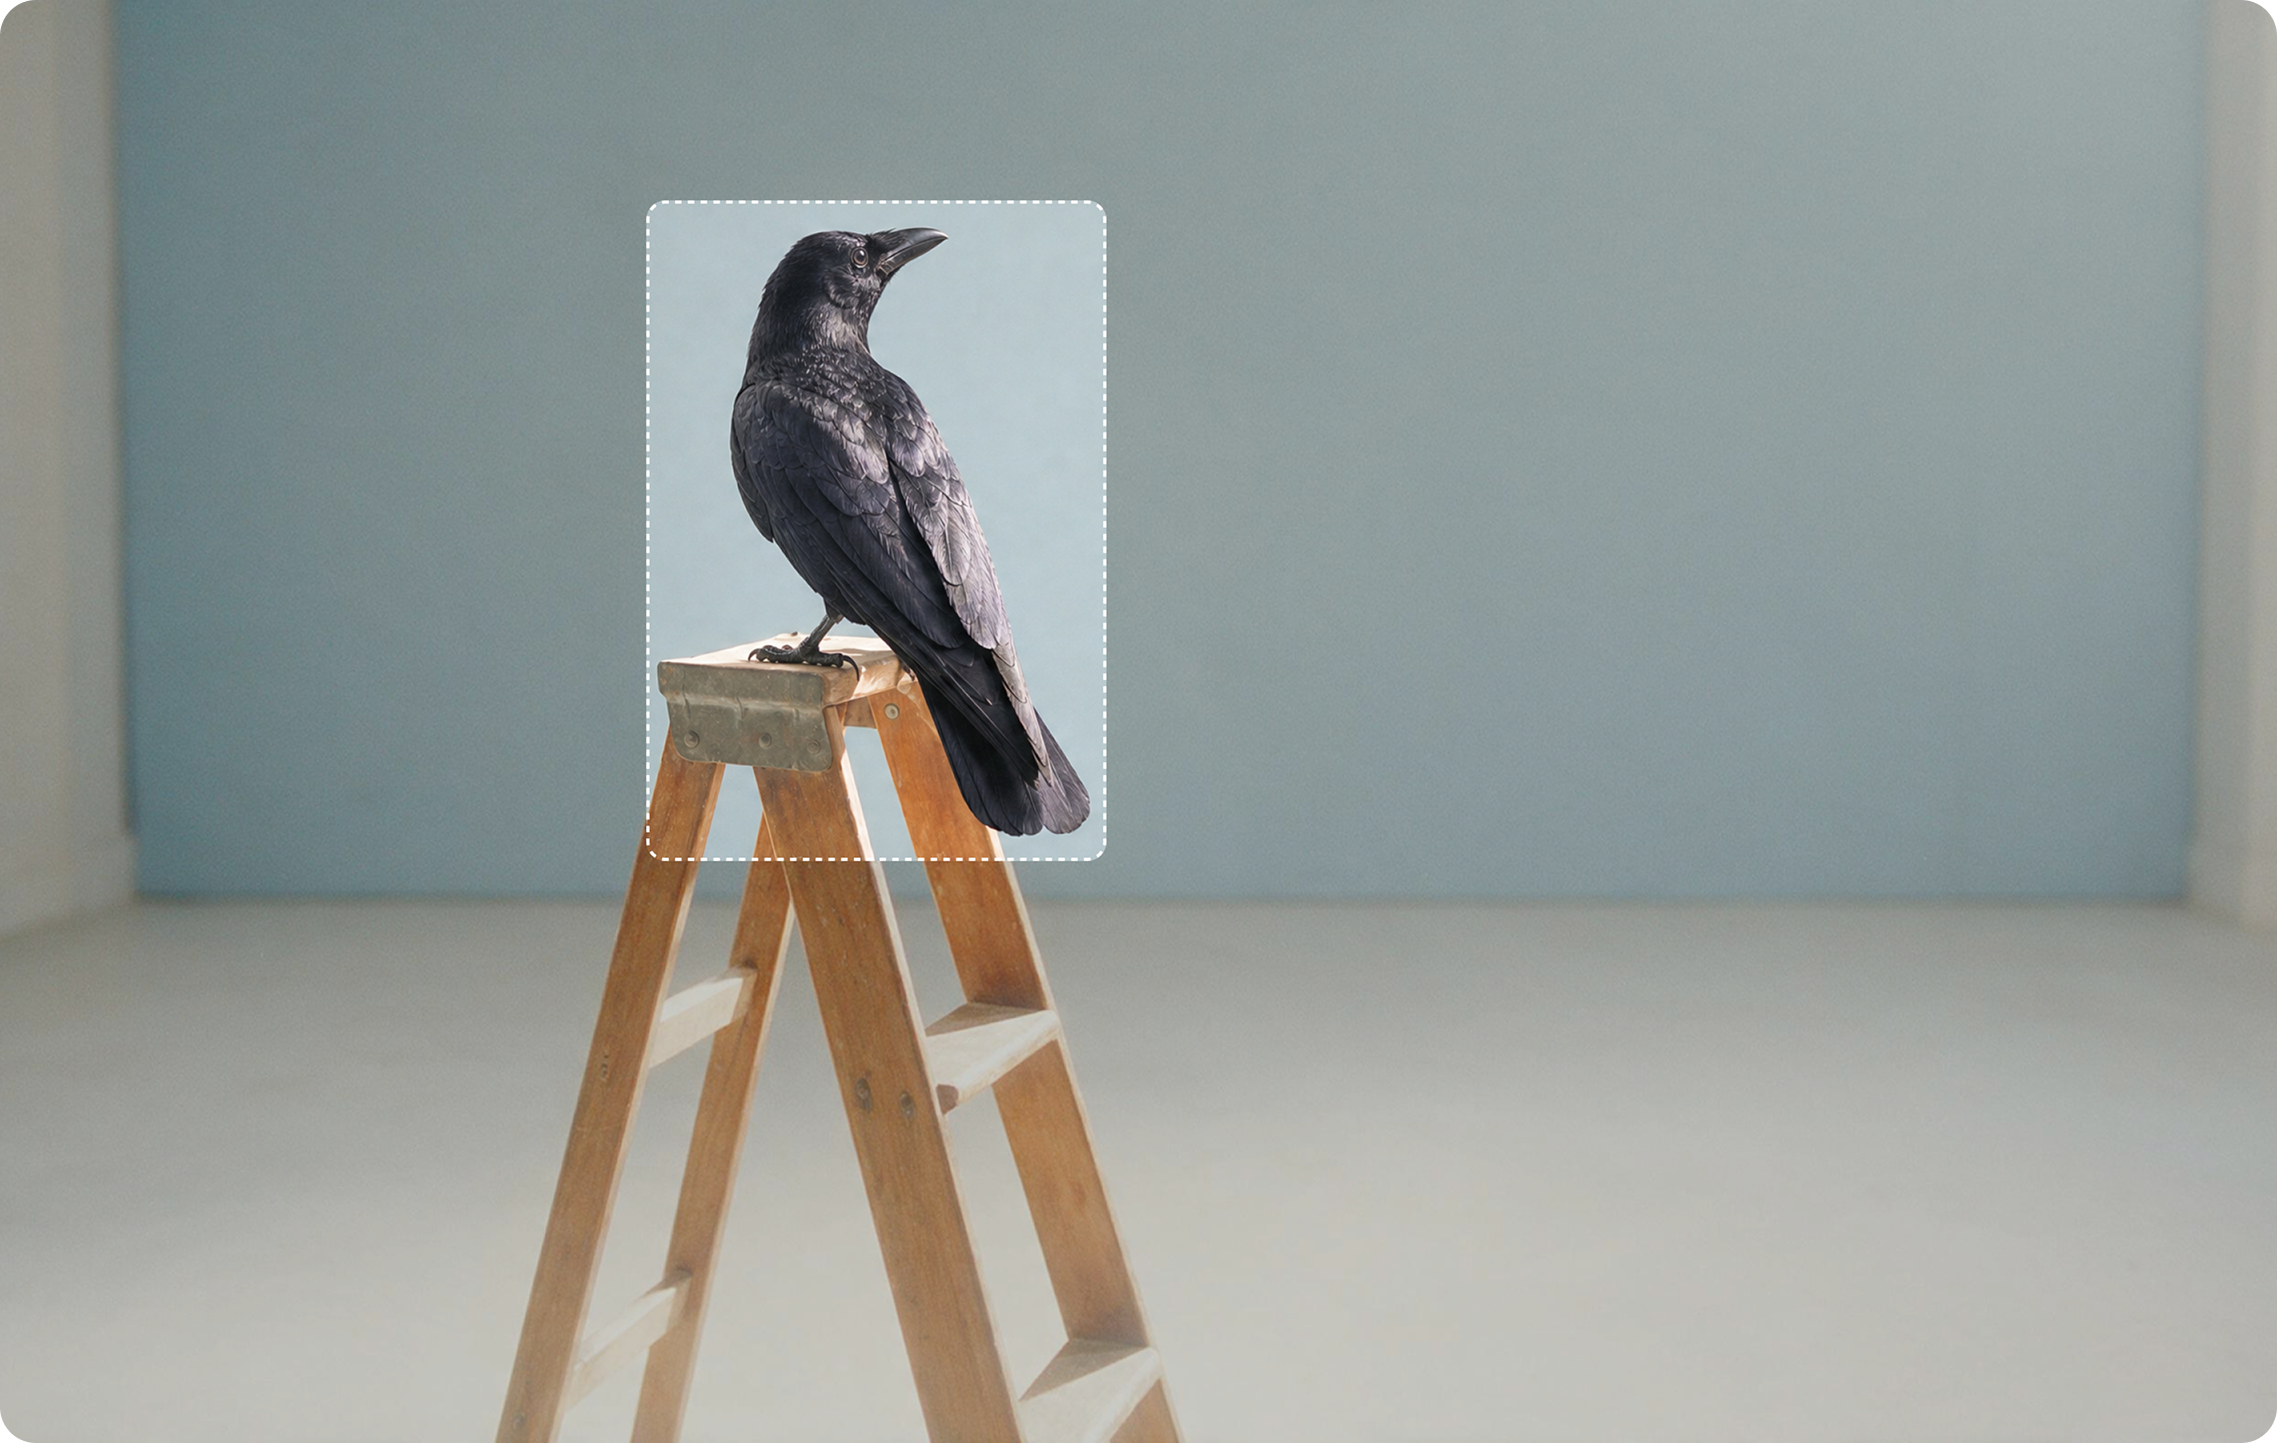
Fix details in Edit Image
Pika’s Edit Image lets you “change any photo from a written instruction — or pin up to five exact spots and say what each one becomes,” and also expand the frame. Image editing guide.
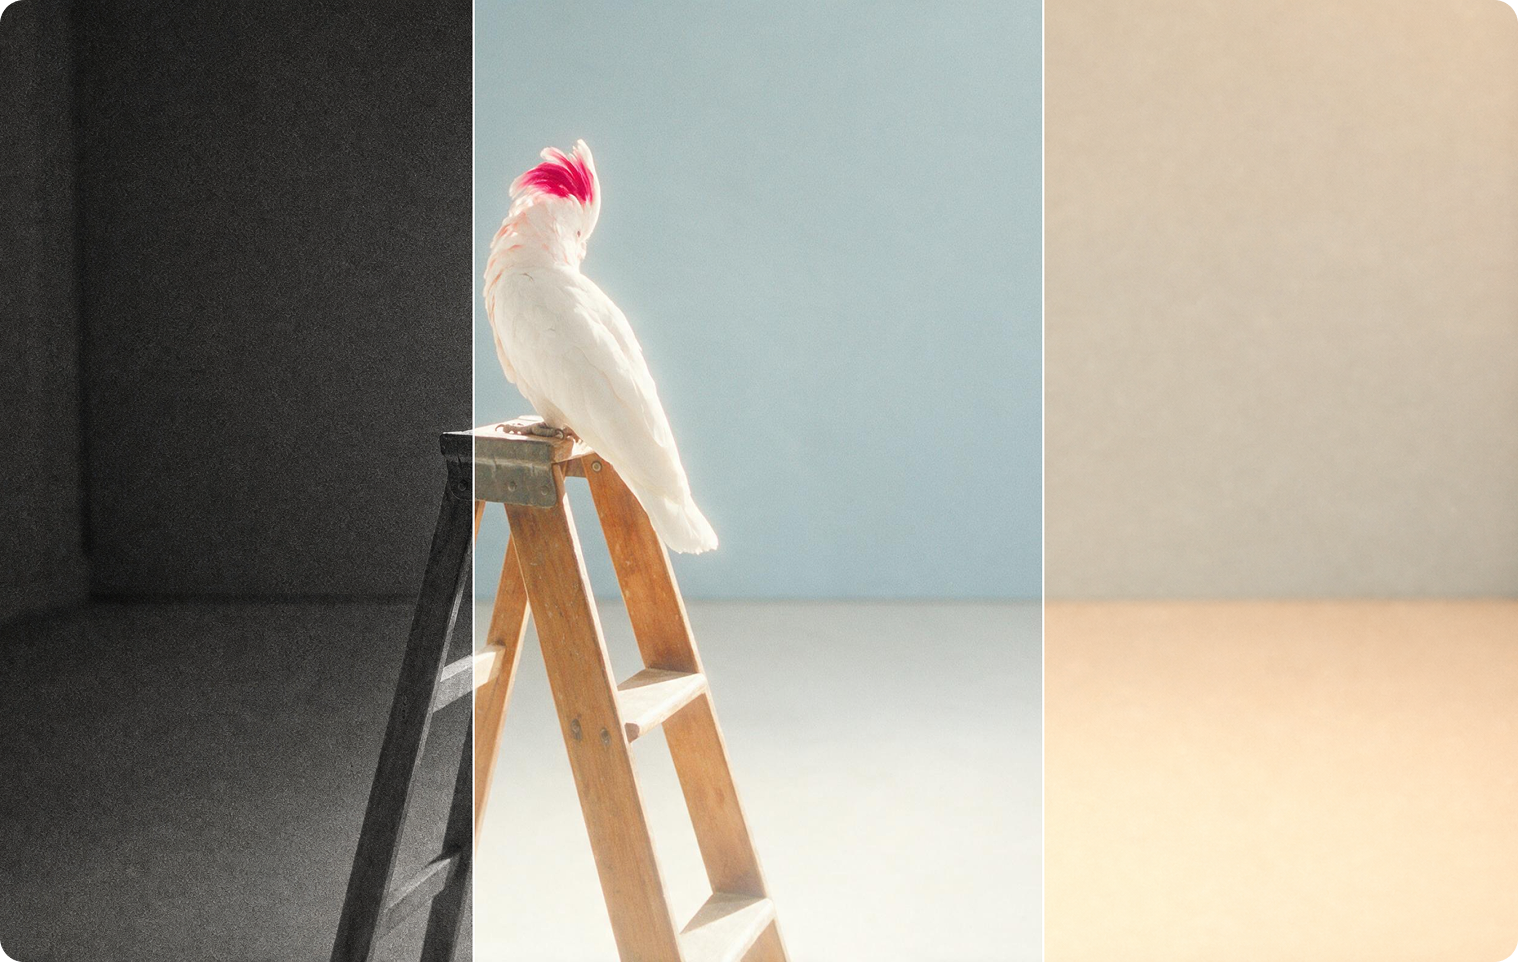
Adjust colour and light
Color Grade changes colour, contrast and mood; Relight Media rebuilds lighting. Both work on photos.
- Almost right? Edit the one thing that’s wrong in Edit Image.
- Wrong composition? Regenerate with a clearer composition line.
- Wrong mood? Change the light line, or grade the image.
- Too small or soft? Use Upscale on the final version.
Example prompts to try
These are our own prompts, written with the six-part structure.
Product on a clean background
A glass bottle of cold-pressed orange juice on a pale stone surface, centred, with a slice of orange beside it. Bright, soft studio light from above. Clean commercial photo, crisp detail, plain background.
Cosy illustration
A small bookshop on a rainy evening, seen from the street, warm light glowing through the window, a cat asleep on the windowsill. Wide shot. Watercolour illustration, soft edges, muted blues and warm yellows.
Poster with a headline
A retro travel poster of a mountain lake at sunrise, pine trees in the foreground. Bold flat colours, 1960s screen-print style. Headline at the top reading “Visit Lake Aurora” in a clean sans-serif. Portrait layout.
Portrait in natural light
A potter in her fifties with short grey hair and a linen apron, standing in a sunlit studio surrounded by shelves of bowls. Waist-up portrait, looking at the camera, soft window light from the right, shallow depth of field, photographic.
For readable headlines, GPT Image 2.5 and Seedream 5 highlight text rendering on their Pika pages; see the image models guide.
Common problems and fixes
| Problem | Fix |
|---|---|
| Parts of the prompt are ignored | Shorten it and put the most important detail first |
| Text is misspelled or garbled | Put the exact words in quotes, keep them short, or try a model known for text |
| Hands or faces look wrong | Simplify the pose, or fix the area in Edit Image |
| Style feels muddled | Keep one style direction and remove conflicting words |
| Subject doesn’t match the reference | @mention the reference and add “keep … exactly as in the reference” |
| Important parts cut off | Choose the right aspect ratio before generating; describe the composition |
Image Studio FAQs
Where do I find Image Studio?
Sign in at create.pika.art and open Image Studio from the apps list, or go directly to create.pika.art/apps/create-image.
How many images do I get per generation?
It depends on the model. Nano Banana and GPT Image 2.5 list one image per generation; Seedream 4 lists six.
Can I use my own photos as references?
Yes. Attach them and @mention them in the prompt. Use photos you own or have permission to use, especially of people.
Can I turn my image into a video?
Yes. Use it in Video Studio with the image-to-video guide, or as a keyframe in Pikaframes.
Can I use the images commercially?
Pika’s pricing page lists a commercial license on the Creator and Fancy plans. Check the current terms before using images in paid work.
Is this the official Pika website?
No. pikaais.com is an independent informational guide. Generation, accounts and purchases take place on Pika’s official services.
Make one image, then change one thing
Paste the starter prompt, generate, then change only the light or the style and compare the two results.
Open Image Studio ↗Next: Image editing · Character Studio · AI image hub
Sources: Pika app pages for Image Studio, Nano Banana, Edit Image, GPT Image 2.5 and Seedream 4, plus Pika pricing, checked September 24, 2026. Images: Pika. Walkthrough, prompts and tips are our own.