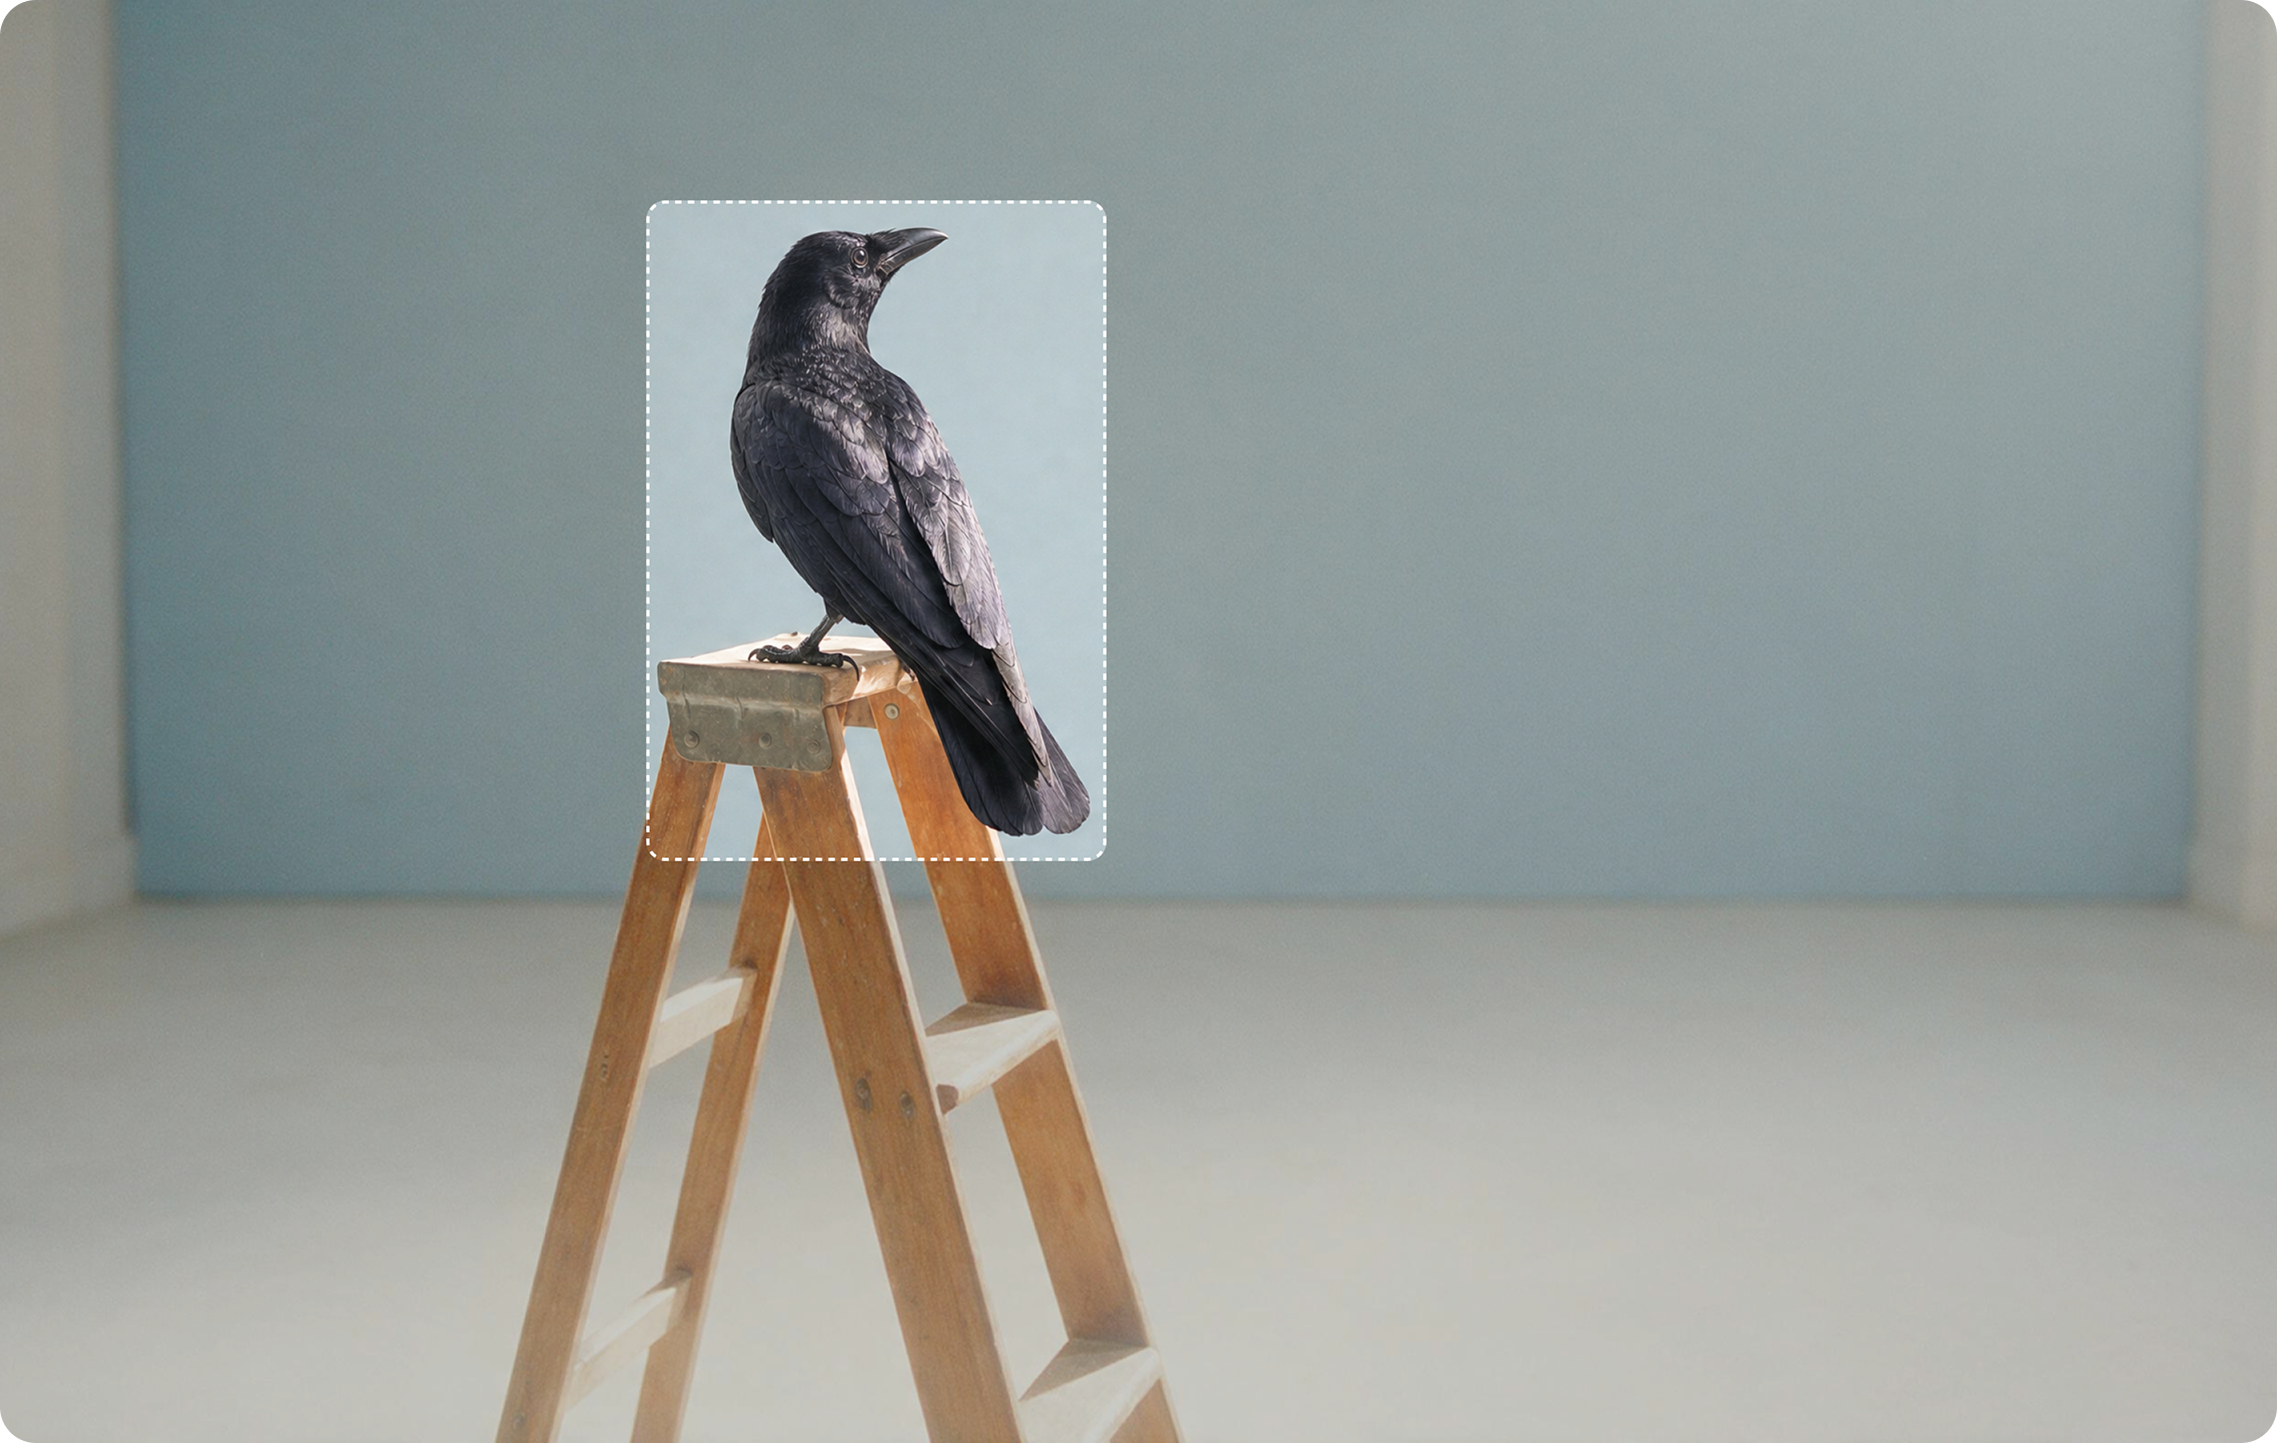
What Pika Edit Image does
Pika sums up Edit Image as a way to “swap, remove, or restyle anything in an image.” The app itself says you can “change any photo from a written instruction — or pin up to five exact spots and say what each one becomes.” It runs on Google’s Nano Banana 2 model and accepts PNG, JPG and HEIC photos, so iPhone images work without converting.
Editing is usually faster and more predictable than regenerating. You keep everything that’s already right and change only what isn’t.
Three modes: Edit, Expand and Upscale
Edit
Describe a change, or pin spots and say what each becomes.
Use for: swapping, removing, adding and restyling.
Expand
Extend the image beyond its original edges, filling in the new area.
Use for: changing shape, e.g. square to vertical.
Upscale
Make the image larger and sharper.
Use for: the final version, before print or large screens.
Mode names are as shown in the app; the layout may change. For video footage, see Pika’s Swap Anything app.
Two ways to edit: instruction or pins
Written instruction
Describe the change in a sentence: “Change the red car to a blue bicycle.” Best when the thing you mean is obvious and there’s only one of it.
Pinned spots (up to five)
Click exact places on the image and say what each becomes: pin 1 “a lemon tree,” pin 2 “remove.” Best when there are several similar objects or you need several changes at once.
What you can change, with example instructions
| Edit | Example instruction | Tip |
|---|---|---|
| Swap | “Replace the coffee cup with a glass of iced tea.” | Name both the old and the new object |
| Remove | “Remove the bin on the left and fill with pavement.” | Say what should fill the space |
| Add | “Add a small potted plant on the right side of the desk.” | Give a position and a size |
| Restyle | “Turn the whole image into a soft watercolour painting.” | Say whether it applies to everything or one part |
| Background | “Change the background to a plain light-grey studio wall.” | Add “keep the subject unchanged” |
| Colour | “Make the sofa dark green velvet.” | Name colour and material together |
| Lighting & time | “Make it look like sunset, with warm light from the window.” | For finer control, try Relight Media |
| Clothing | “Change his jacket to a navy wool coat.” | Keep face and pose: “keep his face unchanged” |
Example instructions are our own.
How to edit an image, step by step
- Open Edit Image. Go to create.pika.art/apps/edit-image and sign in through Pika’s login page.
- Upload a photo (PNG, JPG or HEIC) or pick one from your Pika library.
- Choose the mode: Edit, Expand or Upscale.
- Describe the change, or pin up to five spots and write what each becomes.
- Check the credit cost the app shows, then generate.
- Compare with the original at full size, especially edges around the edited area.
- Edit again if needed, one change at a time, then Upscale the final version.
Pika’s app page doesn’t list a price for edits; the app shows it before you generate. See Pika pricing.
Writing edit instructions that work
- One change per instruction when you’re starting out. Chain edits rather than asking for five at once, or use pins.
- Point clearly: “the red car on the left,” not “the car.”
- Say what stays the same: “Keep the person, pose and lighting unchanged.”
- For removals, say what replaces it: “fill with grass,” “continue the brick wall.”
- Match the scene: ask for shadows and light that fit, e.g. “with a soft shadow matching the window light.”
- Exact text in quotes: “Change the sign to read ‘Open Daily’.”
Good instruction: Replace the white mug on the left of the desk with a small glass vase of yellow tulips. Keep the laptop, lighting and everything else exactly the same. Add a soft shadow matching the window light.
Restyle recipes
Instructions for turning a photo into a different visual style. These are our own.
| Style | Instruction |
|---|---|
| Watercolour | “Turn this into a soft watercolour painting with visible paper texture.” |
| Pencil sketch | “Redraw as a detailed graphite pencil sketch on white paper.” |
| Claymation | “Restyle as a claymation scene with soft clay textures.” |
| Vintage film | “Make it look like a faded 1970s film photograph with warm tones and grain.” |
| Flat illustration | “Convert to a flat vector illustration with bold shapes and a limited palette.” |
| 3D render | “Restyle as a clean 3D render with soft studio lighting.” |
To restyle only part of an image, say which part: “Restyle only the background as a watercolour; keep the person photographic.” For colour and mood without changing the style, use Color Grade.
Other Pika models that edit images
Edit Image uses Nano Banana 2, but several image models in Pika also accept an image plus an instruction:
| Model | Editing notes |
|---|---|
| GPT Image 2.5 | Edits with up to 16 references; transparent backgrounds; strong text rendering |
| Seedream 5 | “Precise editing” from direct instructions, e.g. “replace the lemon with a white dove” |
| Seedream 4 | “Edit, combine and restyle” with up to 10 references |
| Nano Banana | “Creating and editing photo-real visuals”; Lite, 2 and Pro tiers |
Compare them in the image models guide. For a cut-out product on a transparent background, GPT Image 2.5 is the one that lists it.
Editing responsibly
- Edit only images you have the right to use.
- Don’t remove other people’s watermarks, logos or credits from images you don’t own.
- Get consent before editing photos of real people, and don’t make edits that could embarrass, mislead or harm them.
- Don’t present edited images as unedited where it matters, such as news, documents, listings or evidence.
- Keep product images accurate: don’t change a product’s real colour, size or features in a listing.
Common problems and fixes
| Problem | Fix |
|---|---|
| The wrong object was changed | Use a pin on the exact spot, or describe position and colour |
| Other parts of the image changed too | Add “keep everything else exactly the same” |
| Removed object leaves a smudge | Say what should fill the space; try a second pass on that area |
| New object looks pasted on | Ask for matching light, shadow and perspective |
| Face looks different after editing clothes or background | Add “keep the face, hair and expression unchanged” |
| Expanded area doesn’t match | Describe what should appear in the new area, and expand in smaller steps |
Image editing FAQs
Can Pika remove objects from photos?
Yes. Describe what to remove and what should fill the space, or pin the object and write “remove.”
Can I edit iPhone photos?
Yes. Edit Image accepts HEIC as well as PNG and JPG.
How many changes can I make at once?
With pins, up to five spots per edit. For reliable results, start with one change and chain further edits.
Can I change the image’s shape?
Yes, with Expand, which extends the image beyond its edges, for example turning a square photo into a vertical one.
Can I animate an edited image?
Yes. Use it in Video Studio with the image-to-video guide.
Is this the official Pika website?
No. pikaais.com is an independent informational guide. Editing, accounts and purchases take place on Pika’s official services.
Make one edit to one photo
Upload a photo, write one clear instruction with a “keep everything else the same” line, and compare the result with the original.
Open Edit Image ↗Next: Image Studio · Character Studio · AI image hub
Sources: Pika Edit Image, Pika, and Pika model pages for GPT Image 2.5, Seedream 5, Seedream 4 and Nano Banana, checked September 24, 2026. Images: Pika. Instructions, recipes and tips are our own.